
Azure Tips and Tricks Part 49 - Add Azure Cloud Shell to Visual Studio Code
Intro
Most folks aren’t aware of how powerful the Azure platform really is. As I’ve been presenting topics on Azure, I’ve had many people say, “How did you do that?” So I’ll be documenting my tips and tricks for Azure in these posts.
The Complete List of Azure Tips and Tricks
Add Azure Cloud Shell to Visual Studio Code
I’m a big fan of Visual Studio Code and Azure Cloud Shell and recently saw this tweet by Matt Hernandez and had to add it to this Azure Tips and Trick list. If you’ve been following the series, then you’d know that I covered Azure Cloud Shell and MS Docs back in post 11 and how to use PowerShell in Azure Cloud Shell in post 17. Today, we’ll cover how to add Azure Cloud Shell to Visual Studio Code.
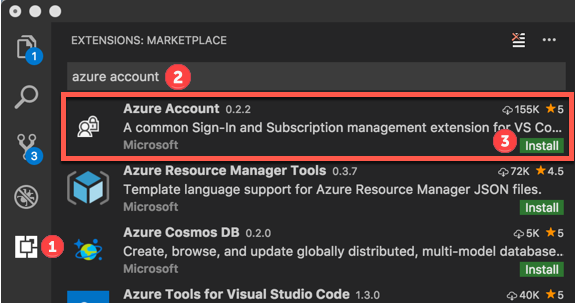
It is fairly easy as all you need to do is open VS Code, click on Extensions and search for azure account and install it as shown below.
Once installed, go to View -> Command Palette and type Open Bash in Cloud Shell.
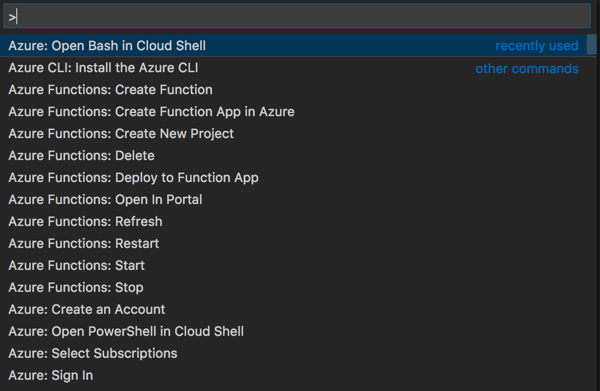
Note: You can also open PowerShell in Cloud Shell with this extension!
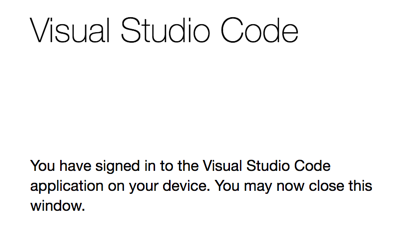
You’ll need to sign in first and VS Code makes that simple by opening the browser and copying your device authentication code. Once that is complete, you’ll see:
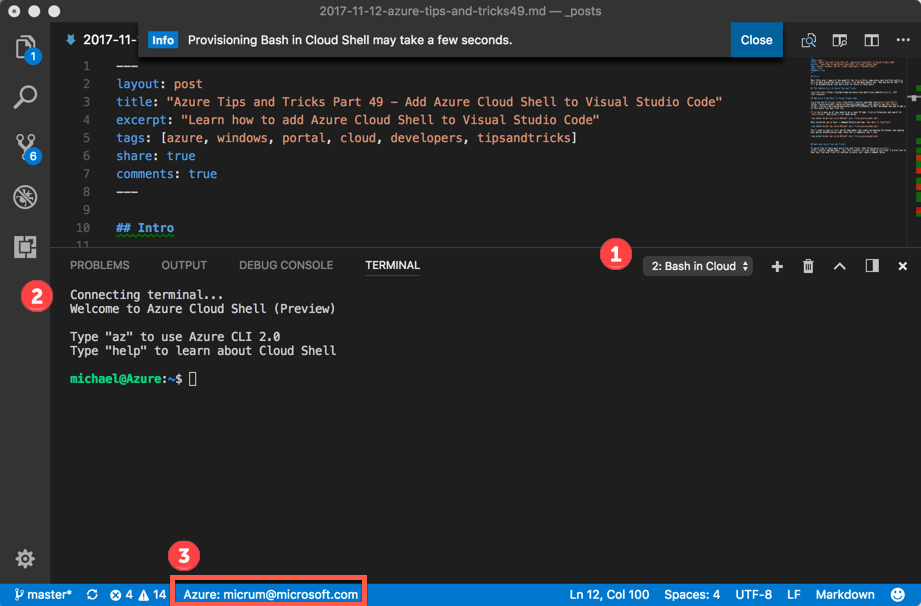
Go back to View -> Command Palette and select Open Bash in Cloud Shell again and it should spin up as shown below.
Very cool and if you want to see the source code for the app, then it can be found here.
Want more Azure Tips and Tricks?
If you’d like to learn more Azure Tips and Tricks, then follow me on twitter or stay tuned to this blog! I’d also love to hear your tips and tricks for working in Azure, just leave a comment below.
Leave a Comment