
Azure Tips and Tricks Part 17 - Use PowerShell with Azure Cloud Shell
Intro
Most folks aren’t aware of how powerful the Azure platform really is. As I’ve been presenting topics on Azure, I’ve had many people say, “How did you do that?” So I’ll be documenting my tips and tricks for Azure in these posts.
The Complete List
Click here to view the complete list of Azure Tips and Tricks
Video Available
Use PowerShell within Azure Cloud Shell
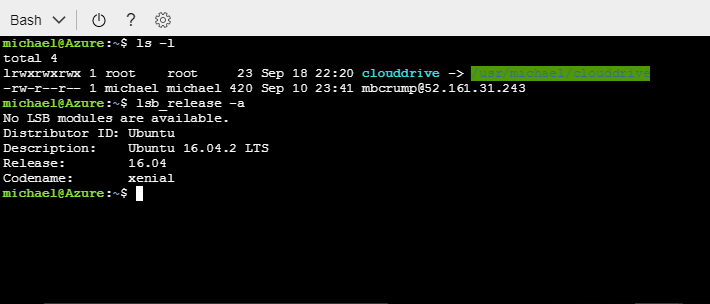
If you’ve been working with Azure Cloud Shell then you are probably familiar with using BASH as it has been the only supported command language on the platform. We learned in previous blog posts that you can perform a variety of tasks and even looked under the hood with some OS specific commands.
PowerShell is the other command language that the Azure Cloud Shell supports. I’ve recently signed up for a preview and thought I’d share.
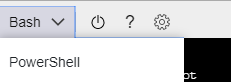
You can switch to PowerShell by clicking the dropdown and selecting PowerShell.
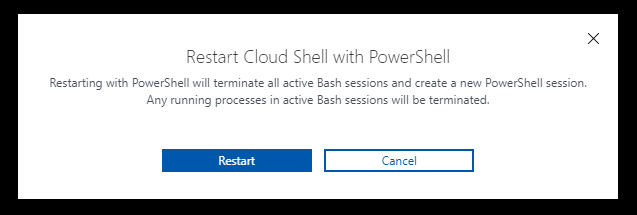
This will prompt you to Restart Cloud Shell with PowerShell which will log you out of your current instance and stop any running processes.
On first launch, it’ll authenticate with Azure (just like BASH does) and build your Azure drive. You now have access to all your accounts. You can run the dir command and see your subscriptions vs with BASH it would list out the physical files on the currently mounted drive.
PS Azure:\> dir

    Directory: Azure:

Mode SubscriptionName                     SubscriptionId                       TenantId                             State
---- ----------------                     --------------                       --------                             -----
+    Demo - Azure Monitoring				xxx-xxx-xxx-xxx						xxx-xxx-xxx-xxx 					Enabled
Now that I have access to my subscriptions, I can traverse the “Demo - Azure Monitor” subscription by typing cd '.\Demo - Azure Monitoring\'.
If I run a dir again, then I’d see what is included in that account. Here I see Resource Groups, Storage Accounts, VMs and Web Apps.
Directory: Azure:\Demo - Azure Monitoring


Mode Name
---- ----
+    AllResources
+    ResourceGroups
+    StorageAccounts
+    VirtualMachines
+    WebApps
I can continue traversing this subscription by typing cd VirtualMachines then typing dir.
Directory: Azure:\Demo - Azure Monitoring\VirtualMachines
Name                  ResourceGroupName      Location          VmSize  OsType                       NIC ProvisioningState PowerState
----                  -----------------      --------          ------  ------                       --- ----------------- ----------
k8s-a   APPROVAL        eastus  Standard_D2_v2   Linux  -nic-0         Succeeded    running
As you can tell, I can easily discover and navigate Azure resources now by using Powershell.
The other nice thing that I’ve seen while playing with PowerShell is the ability to run modules such as the ones found in Microsoft.PowerShell. For instance we can use Get-Date as described here inside of Cloud Shell.
PS Azure:\> Get-Date

Monday, September 18, 2017 11:02:49 PM
You can also do other things such as manage and log into VMs and import additional cmdlets! There is a lot to explore but hopefully this gives you a quick taste!
Want more Azure Tips and Tricks?
If you’d like to learn more Azure Tips and Tricks, then follow me on twitter or stay tuned to this blog! I’d also love to hear your tips and tricks for working in Azure, just leave a comment below.
Leave a Comment