
Azure Tips and Tricks Part 50 - Create an Azure Functions project with Visual Studio Code
Intro
Most folks aren’t aware of how powerful the Azure platform really is. As I’ve been presenting topics on Azure, I’ve had many people say, “How did you do that?” So I’ll be documenting my tips and tricks for Azure in these posts.
The Complete List of Azure Tips and Tricks
Create an Azure Functions project with Visual Studio Code
Visual Studio Code is the best thing since coffee for developers and if you pair it with Azure Functions… well, more awesome happens. In this post, we’ll look at adding an Azure Function project to Visual Studio Code.
It is fairly easy as all you need to do is open VS Code, click on Extensions and search for azure functions and install it as shown below.

Once installed, you’ll need to reload the extension and you should see your subscriptions.
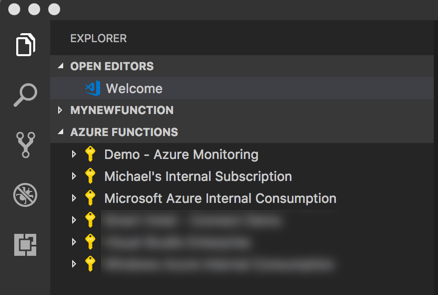
You may need to sign in if Visual Studio Code hasn’t already been authenticated.
Now you should create a project, then a function app, and select which template that you want to use. After you select a template, then you’ll need to provide a name and a authorization level.
Just hit F5 and you have a local Azure Function running in Visual Studio Code.
Remember this! You can also add Azure Cloud Shell to Visual Studio Code with yesterday’s tip!
Want more Azure Tips and Tricks?
If you’d like to learn more Azure Tips and Tricks, then follow me on twitter or stay tuned to this blog! I’d also love to hear your tips and tricks for working in Azure, just leave a comment below.
Leave a Comment