
Azure Tips and Tricks Part 77 - Working with Azure Storage Explorer
Want to Contribute? I’m currently looking for folks who want to contribute to Azure Tips and Tricks. If you are interested, then fill out the form here.
Intro
Most folks aren’t aware of how powerful the Azure platform really is. As I’ve been presenting topics on Azure, I’ve had many people say, “How did you do that?” So I’ll be documenting my tips and tricks for Azure in these posts.
The Complete List of Azure Tips and Tricks
Working with Azure Storage Explorer
This week we’ve reviewed the following options with Azure Storage :
- Working with Azure Storage Blobs and Files through the Portal
- Create an Azure Storage Blob Container through C#
- Uploading and Downloading a Stream into an Azure Storage Blob
While it has been easy working with Azure Storage through the Portal and C#, one gem that I haven’t covered was Azure Storage Explorer. In this post, we’ll take a look at it.
What is it? Azure Storage Manager allows you to easily manage the contents of your storage account. It comes complete with features such as: upload, download, and manage blobs, files, queues, tables, and Cosmos DB entities.
How I typically work with Azure Storage Explorer
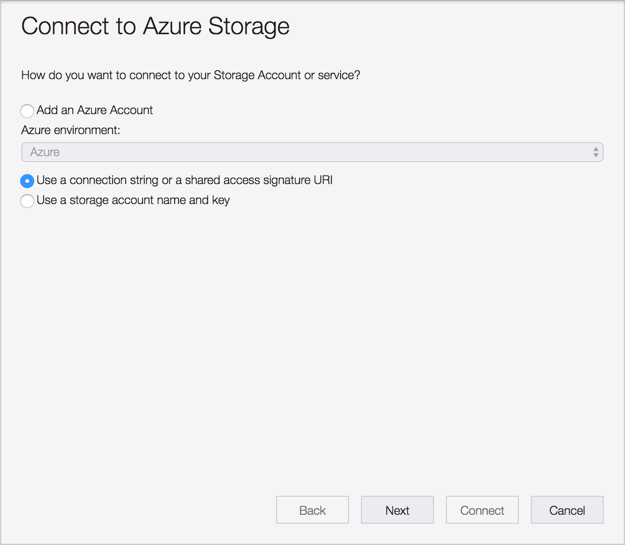
After downloading the tool, I typically begin with the option Use a connection string or a shared access signature URI as shown below.
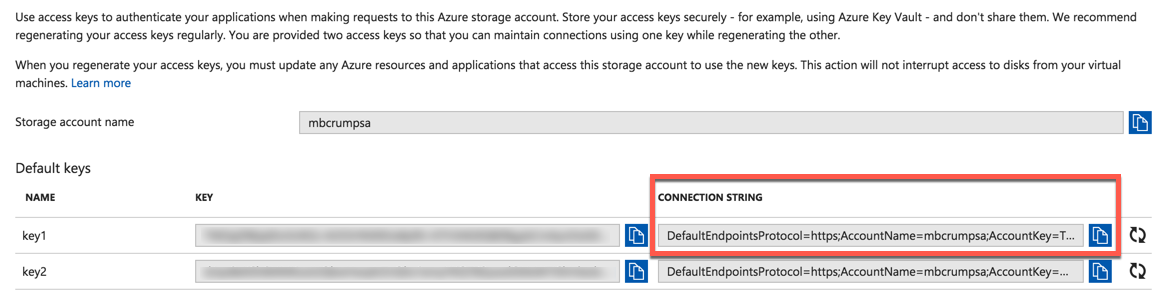
I then switch over to my Azure Storage account that I want to work with and look under Settings, then Access Keys and copy the connection string to my clipboard.
I paste that into Azure Storage Explorer and now have access to my data.

Now, I can do things such for my table storage such as CRUD operations as well as querying.
It is absolutely terrific tool that works on various platforms (Windows, Mac, Linux) and keep in mind that it works with blobs, files, queues, tables, and Cosmos DB entities.
Want more Azure Tips and Tricks?
If you’d like to learn more Azure Tips and Tricks, then follow me on twitter or stay tuned to this blog! I’d also love to hear your tips and tricks for working in Azure, just leave a comment below.
Leave a Comment