
Azure Tips and Tricks Part 74 - Working with Azure Storage Blobs and Files through the Portal
Want to Contribute? I’m currently looking for folks who want to contribute to Azure Tips and Tricks. If you are interested, then read more here.
Intro
Most folks aren’t aware of how powerful the Azure platform really is. As I’ve been presenting topics on Azure, I’ve had many people say, “How did you do that?” So I’ll be documenting my tips and tricks for Azure in these posts.
The Complete List of Azure Tips and Tricks
Working with Azure Storage Blobs and Files through the Portal
Azure Storage is described as a service that provides storages that is available, secure, durable, scalable, and redundant. Azure Storage consists of 1) Blob storage, 2) File Storage, and 3) Queue storage. In this post, we’ll take a look at Blob storage and how to get started using it through the Azure Portal.
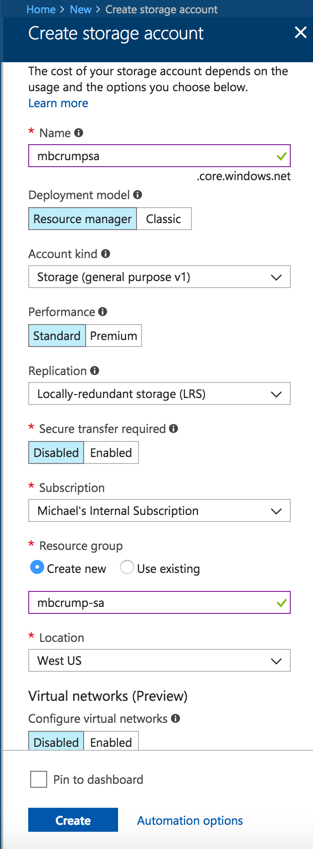
Go ahead and open the Azure Portal and click Create a Resource and select Azure Storage. We’ll keep it simple as shown below to get started.
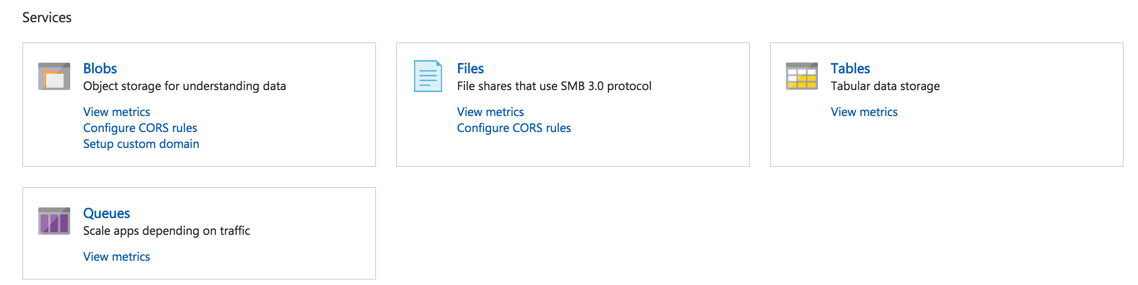
Once complete, go into the resource and look under Services.
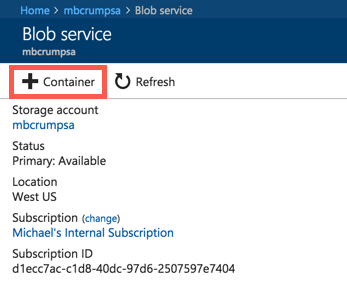
Go ahead and click on Blobs and create a Container and give it the name images.
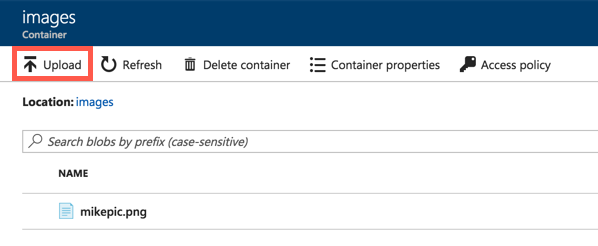
Remember this! Think of a container in this sense as a folder. https://myblob/container/image1.jpg
You’ll now want to click Upload and select a file on your physical disk.
Now that your file is uploaded, select it, and you can click on the ellipsis and select Blob properties to see additional details.

We can now download it or access it via the URL provided https://mbcrumpsa.blob.core.windows.net/images/mikepic.png.
Want more Azure Tips and Tricks?
If you’d like to learn more Azure Tips and Tricks, then follow me on twitter or stay tuned to this blog! I’d also love to hear your tips and tricks for working in Azure, just leave a comment below.
Leave a Comment