
Azure Tips and Tricks Part 73 - Send Emails through Azure with C# and SendGrid
Want to contribute? I’m currently looking for folks who want to contribute to Azure Tips and Tricks. If you are interested, then read more here.
Upcoming schedule: Azure Tips and Tricks resumes with our normal posting schedule starting next Sunday (1/7).
Intro
Most folks aren’t aware of how powerful the Azure platform really is. As I’ve been presenting topics on Azure, I’ve had many people say, “How did you do that?” So I’ll be documenting my tips and tricks for Azure in these posts.
The Complete List of Azure Tips and Tricks
Send Emails through Azure with C# and SendGrid
In this post, I’ll walk through the process that I completed to create an account with SendGrid and send an email with C#.
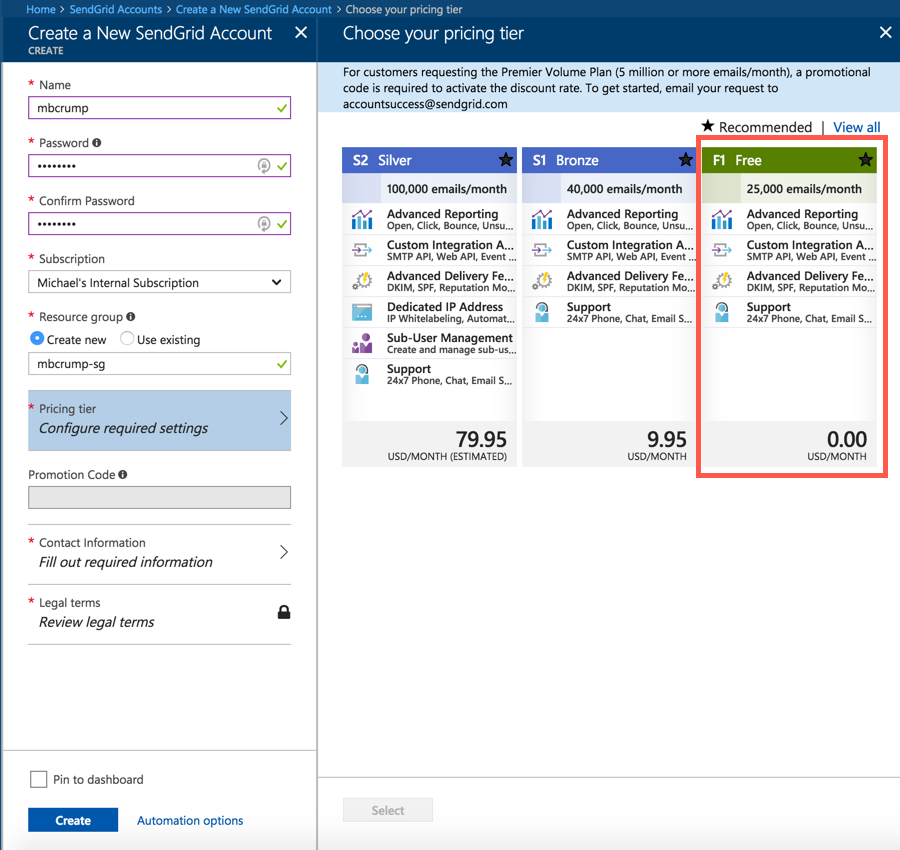
Go to the Azure Portal and search services for SendGrid and create an account as shown below. You’ll notice that I used the Free account as it is good enough for what I was trying to accomplish.
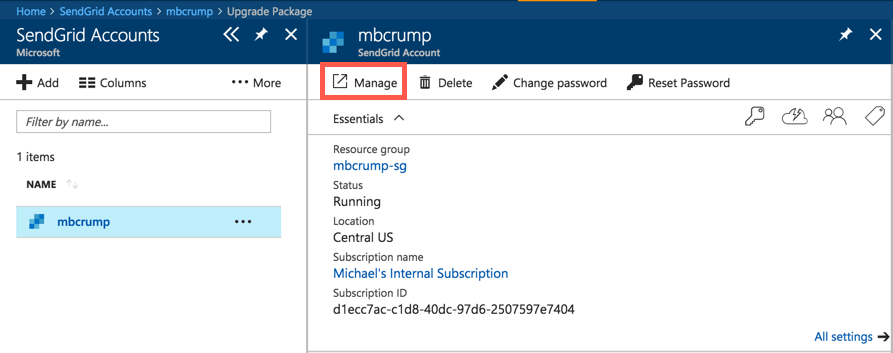
Go to your SendGrid account once provisioned and click on Manage and it will bring you to https://app.sendgrid.com/ as shown below.
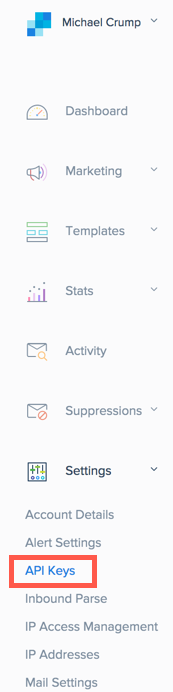
From the SendGrid portal, you are going to want to grab your API key. You can find it under Settings, then API Keys
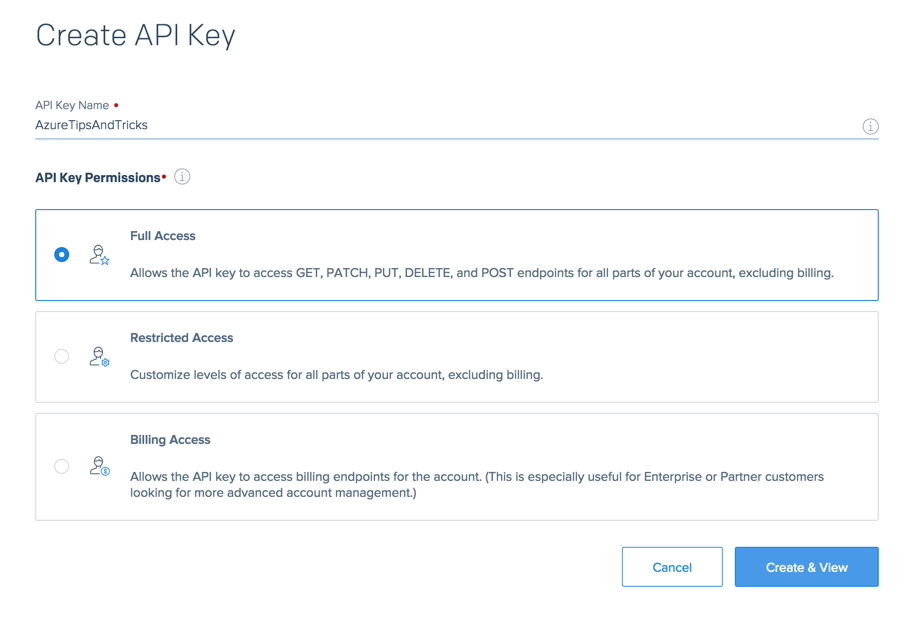
Give your API Key a name and then give it Full Access and click Create and View.
Remember this! Copy this key somewhere safe as we’ll be using it again shortly!
Now that you have your API Key, open Visual Studio and create a new Console Application. (Keep in mind this could be an Azure Function for example). You’ll need to add in the Sendgrid NuGet package (which you can do from Manage NuGet packages).
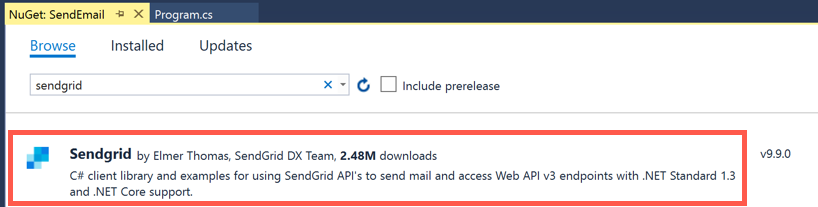
Insall the NuGet package and copy and paste the following C# code into your Console application, simply replacing your API key.
class Program
{
static void Main(string[] args)
{
Execute().Wait();
}
static async Task Execute()
{
var client = new SendGridClient("ENTER-YOUR-API-KEY-HERE");
var msg = new SendGridMessage();
msg.SetFrom(new EmailAddress("a@gmail.com", "Azure Tips and Tricks"));
var recipients = new List<EmailAddress>
{
new EmailAddress("a@gmail.com"),
new EmailAddress("b@gmail.com"),
new EmailAddress("c@gmail.com")
};
msg.AddTos(recipients);
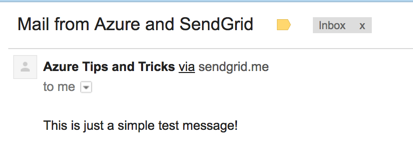
msg.SetSubject("Mail from Azure and SendGrid");
msg.AddContent(MimeType.Text, "This is just a simple test message!");
msg.AddContent(MimeType.Html, "<p>This is just a simple test message!</p>");
var response = await client.SendEmailAsync(msg);
}
}
Run the application and check whatever email that you sent it to!
The source code can be found here.
Want more Azure Tips and Tricks?
If you’d like to learn more Azure Tips and Tricks, then follow me on twitter or stay tuned to this blog! I’d also love to hear your tips and tricks for working in Azure, just leave a comment below.
Leave a Comment