
Azure Tips and Tricks Part 20 - Working with Files in Azure App Service
Intro
Most folks aren’t aware of how powerful the Azure platform really is. As I’ve been presenting topics on Azure, I’ve had many people say, “How did you do that?” So I’ll be documenting my tips and tricks for Azure in these posts.
The Complete List
Click here to view the complete list of Azure Tips and Tricks
For those asking how many Azure Tips that I’ll be doing. It’ll be more than 20! That is for sure. :)
Working with Files in Azure App Service
In the last post, we created a web app and uploaded it to Azure App Service. In this post, we’ll take a look at the files uploaded and three tools that I use to work with them
Console Access to my App Service
I can go to the Azure Portal and select my App Service and click on Console under Development Tools to have a command prompt to quickly work with my Azure App Service.
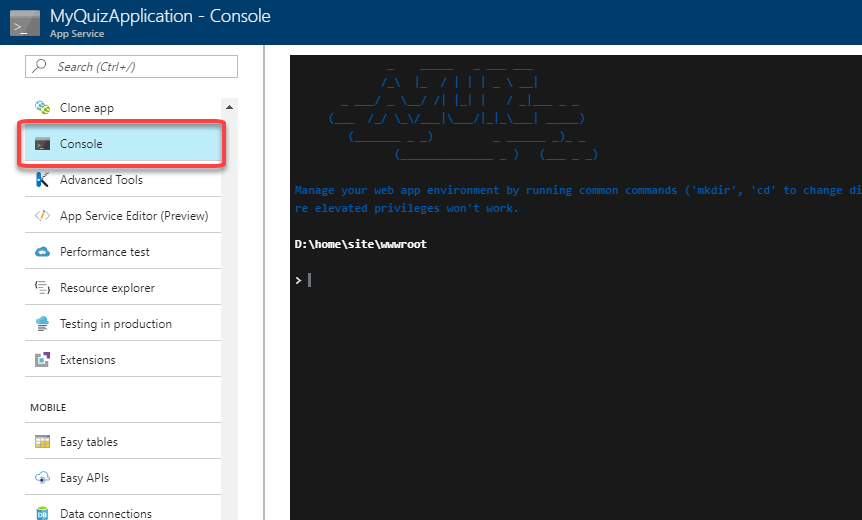
As you can tell from the screen-shot, I start in D:\home\site\wwwroot. I can type dir to see a current directory listing.
Volume in drive D is Windows
 Volume Serial Number is FE33-4717

 Directory of D:\home\site\wwwroot

09/21/2017  08:35 PM    <DIR>          .
09/21/2017  08:35 PM    <DIR>          ..
09/20/2017  09:03 PM    <DIR>          css
09/20/2017  09:03 PM             5,351 Default.html
09/20/2017  09:03 PM    <DIR>          js
09/20/2017  09:03 PM             1,950 jsQuizEngine.sln
09/20/2017  09:03 PM               304 jsQuizEngine.userprefs
09/20/2017  09:03 PM            31,744 jsQuizEngine.v12.suo
09/20/2017  09:03 PM    <DIR>          PrecompiledWeb
09/20/2017  09:03 PM    <DIR>          quiz
               4 File(s)         39,349 bytes
               7 Dir(s)   1,072,893,952 bytes free
I can do basic commands here and even use type <filename> to parse the output of a file to the screen. You can make directory and so forth, but keep in mind that this is a sandbox environment and some commands which require elevated permissions may not work.
Quick Tip You can type help from the console window for a list of available commands.
A VS Code experience to my App Service
There is also another option that is called “App Service Editor” located just two items down from “Console” that you picked before.
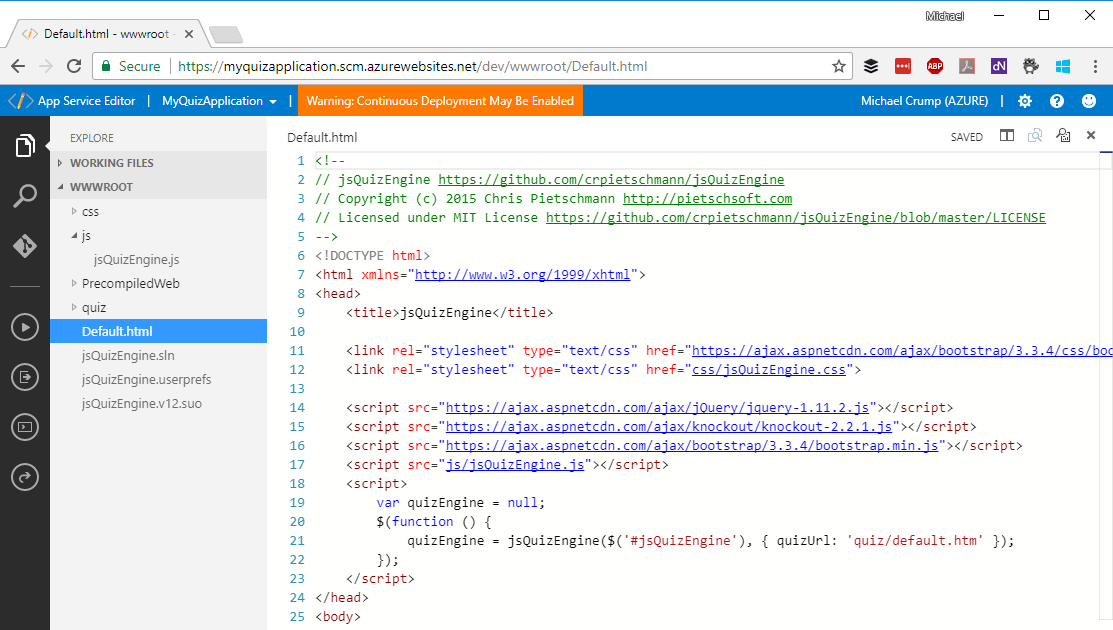
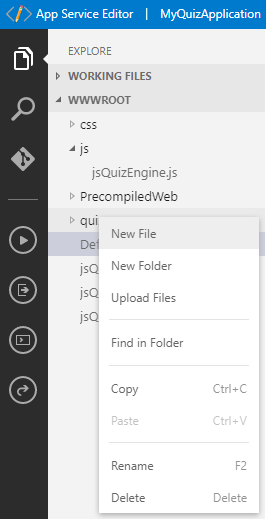
If you’re familiar with VS Code, then you’ll be right at home as you can explore, search and add to Git. You can also manipulate files from within the window. This makes it easy to add, edit or delete files.
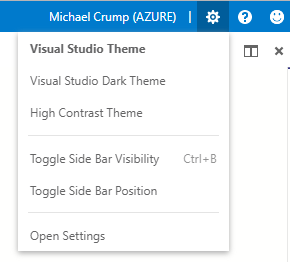
Just like in VS Code, you can modify your settings and even change your theme.
Kudu Diagnostic Console
No App Service tutorial is complete without mentioning Kudu Diagnostic Console. You can access it from within the App Service Editor under your app name -> Open Kudu Console or through the portal under Advanced Tools.
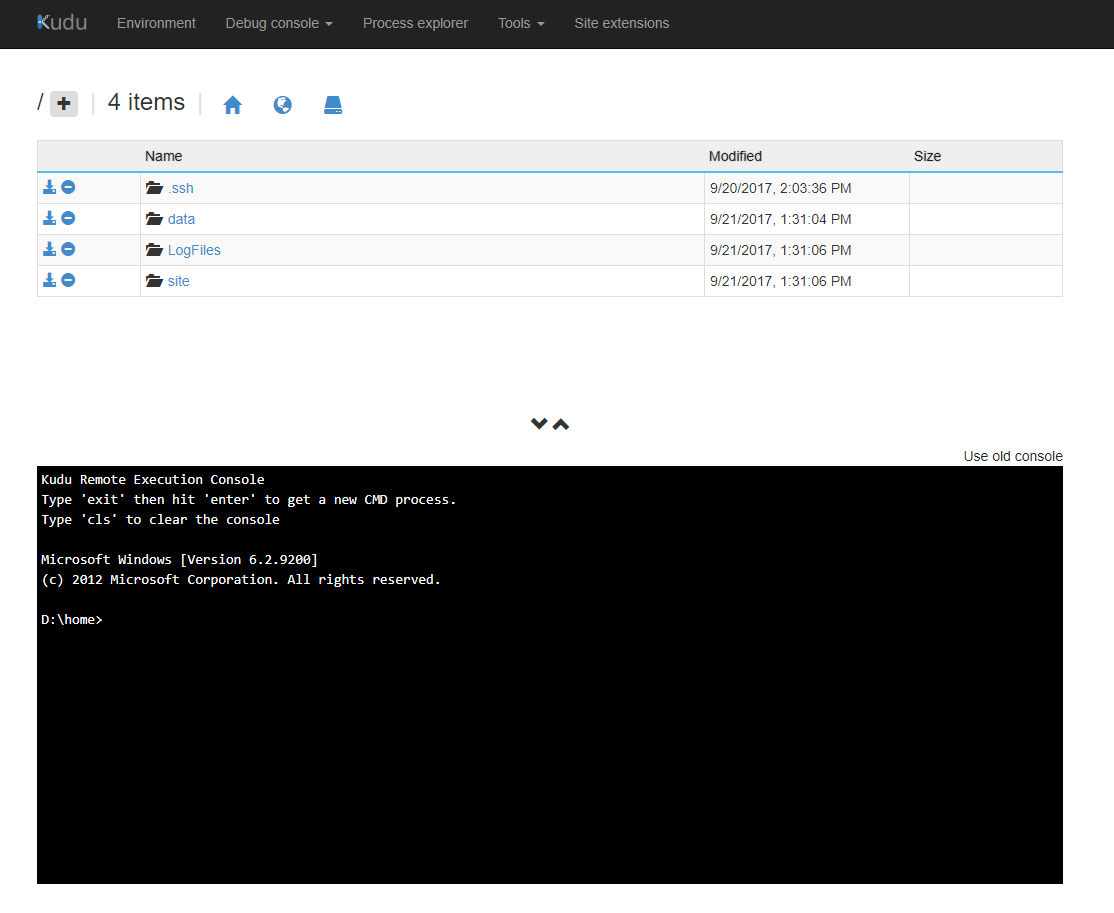
You can just click on the folder name to navigate or type in the command. You can also easily manipulate the files, but I like the App Service Editor better for that functionality. The main reason that I typically come to the Kudu Diagnostic Console is to download files.
Quick Tip The App Service Editor is a great choice if ever in doubt and you can access it directly by going to https://yoursite.scm.azurewebsites.net/dev/
Want more Azure Tips and Tricks?
If you’d like to learn more Azure Tips and Tricks, then follow me on twitter or stay tuned to this blog! I’d also love to hear your tips and tricks for working in Azure, just leave a comment below.
Leave a Comment