
Azure Tips and Tricks Part 19 - Deploy an Azure Web App using only the CLI
Intro
Most folks aren’t aware of how powerful the Azure platform really is. As I’ve been presenting topics on Azure, I’ve had many people say, “How did you do that?” So I’ll be documenting my tips and tricks for Azure in these posts.
The Complete List
Click here to view the complete list of Azure Tips and Tricks
Deploy an Azure Web App using only the CLI
While I love working with the Azure Portal or even Visual Studio, it is sometimes nice to do everything from the command line. While I’m a power Windows user, in this tutorial I’ll be using a Linux VM and BASH to do everything.
Step 1) Ensure you have the following stack installed.
*This will give us a full web development stack we can work with in the future. *
mbcrump@crumplinux:~$ git --version
git version 2.7.4
mbcrump@crumplinux:~$ nodejs --version
v4.2.6
mbcrump@crumplinux:~$ npm --version
3.5.2
mbcrump@crumplinux:~$ gulp --version
[20:05:28] CLI version 1.4.0
[20:05:28] Local version 3.9.1
mbcrump@crumplinux:~$ mongod --version
db version v2.6.10
2017-09-20T20:11:43.087+0000 git version: nogitversion
2017-09-20T20:11:43.095+0000 OpenSSL version: OpenSSL 1.0.2g  1 Mar 2016
I’m particularly interested in the MEAN.JS stack.
What is MEAN.JS? MEAN.JS is a Full-Stack JavaScript Using MongoDB, Express, AngularJS, and Node.js -
Step 2) Create a folder such as webapp and then cd webapp.
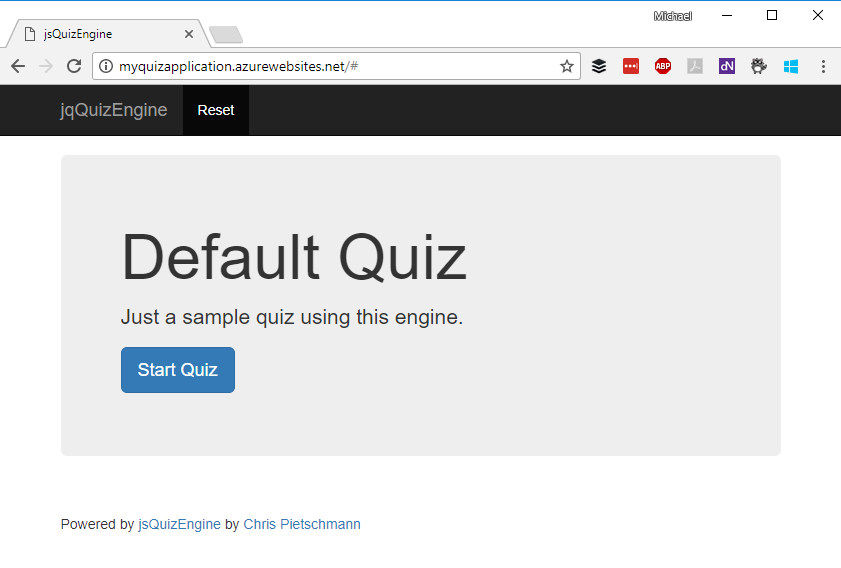
Step 3) Run the following command git clone https://github.com/crpietschmann/jsQuizEngine.git. This is a JavaScript based quiz engine by Chris Pietschmann.
Step 4) Change your working directory to jsQuizEngine/src and now we’ll need to create a deployment user that can deploy web app through Git.
az webapp deployment user set --user-name mbcrump --password AREALLYLONGPW
Name    PublishingUserName
------  --------------------
web     mbcrump
Step 5) We’ll need a resource group. I’m going to put mine in the West US.
az group create --name StaticResourceGroup --location "West US"
Location    Name
----------  -------------------
westus      StaticResourceGroup
Step 6) We’ll also need an Azure App Service Plan. I’ll use the free one for this example.
az appservice plan create --name StaticAppServicePlan --resource-group StaticResourceGroup --sku FREE
AppServicePlanName    GeoRegion    Kind    Location      MaximumNumberOfWorkers  Name                  ProvisioningState    ResourceGroup        Status    Subscription
--------------------  -----------  ------  ----------  ------------------------  --------------------  -------------------  -------------------  --------  ------------------------------------
StaticAppServicePlan  West US      app     West US                            1  StaticAppServicePlan  Succeeded            StaticResourceGroup  Ready     d1ecc7ac-c1d8-40dc-97d6-2507597e7404
Step 7) We’ll create an Azure Web App and deploy it using local Git.
az webapp create --name MyQuizApplication --resource-group StaticResourceGroup --plan StaticAppServicePlan --deployment-local-git
You should see in the output Local git is configured with url of 'https://mbcrump@myquizapplication.scm.azurewebsites.net/MyQuizApplication.git' Copy and paste this to your editor of choice.
Step 8) We’ll need to add azure to our local Git repo.
git remote add azure https://mbcrump@myquizapplication.scm.azurewebsites.net/MyQuizApplication.git
Step 9) Push the changes.
git push azure master
Step 10) Nice! We can now browse to our new site.
Once you get a hang of using the CLI, then these steps become natural. Thanks for reading!
Want more Azure Tips and Tricks?
If you’d like to learn more Azure Tips and Tricks, then follow me on twitter or stay tuned to this blog! I’d also love to hear your tips and tricks for working in Azure, just leave a comment below.
Leave a Comment