
Azure Tips and Tricks Part 101 - Day 1 - An end to end scenario with Azure App Service, API Apps, SQL, VSTS and CI/CD
Intro
Most folks aren’t aware of how powerful the Azure platform really is. As I’ve been presenting topics on Azure, I’ve had many people say, “How did you do that?” So I’ll be documenting my tips and tricks for Azure in these posts.
The Complete List of Azure Tips and Tricks
A multi-part series showing an end-to-end possibility
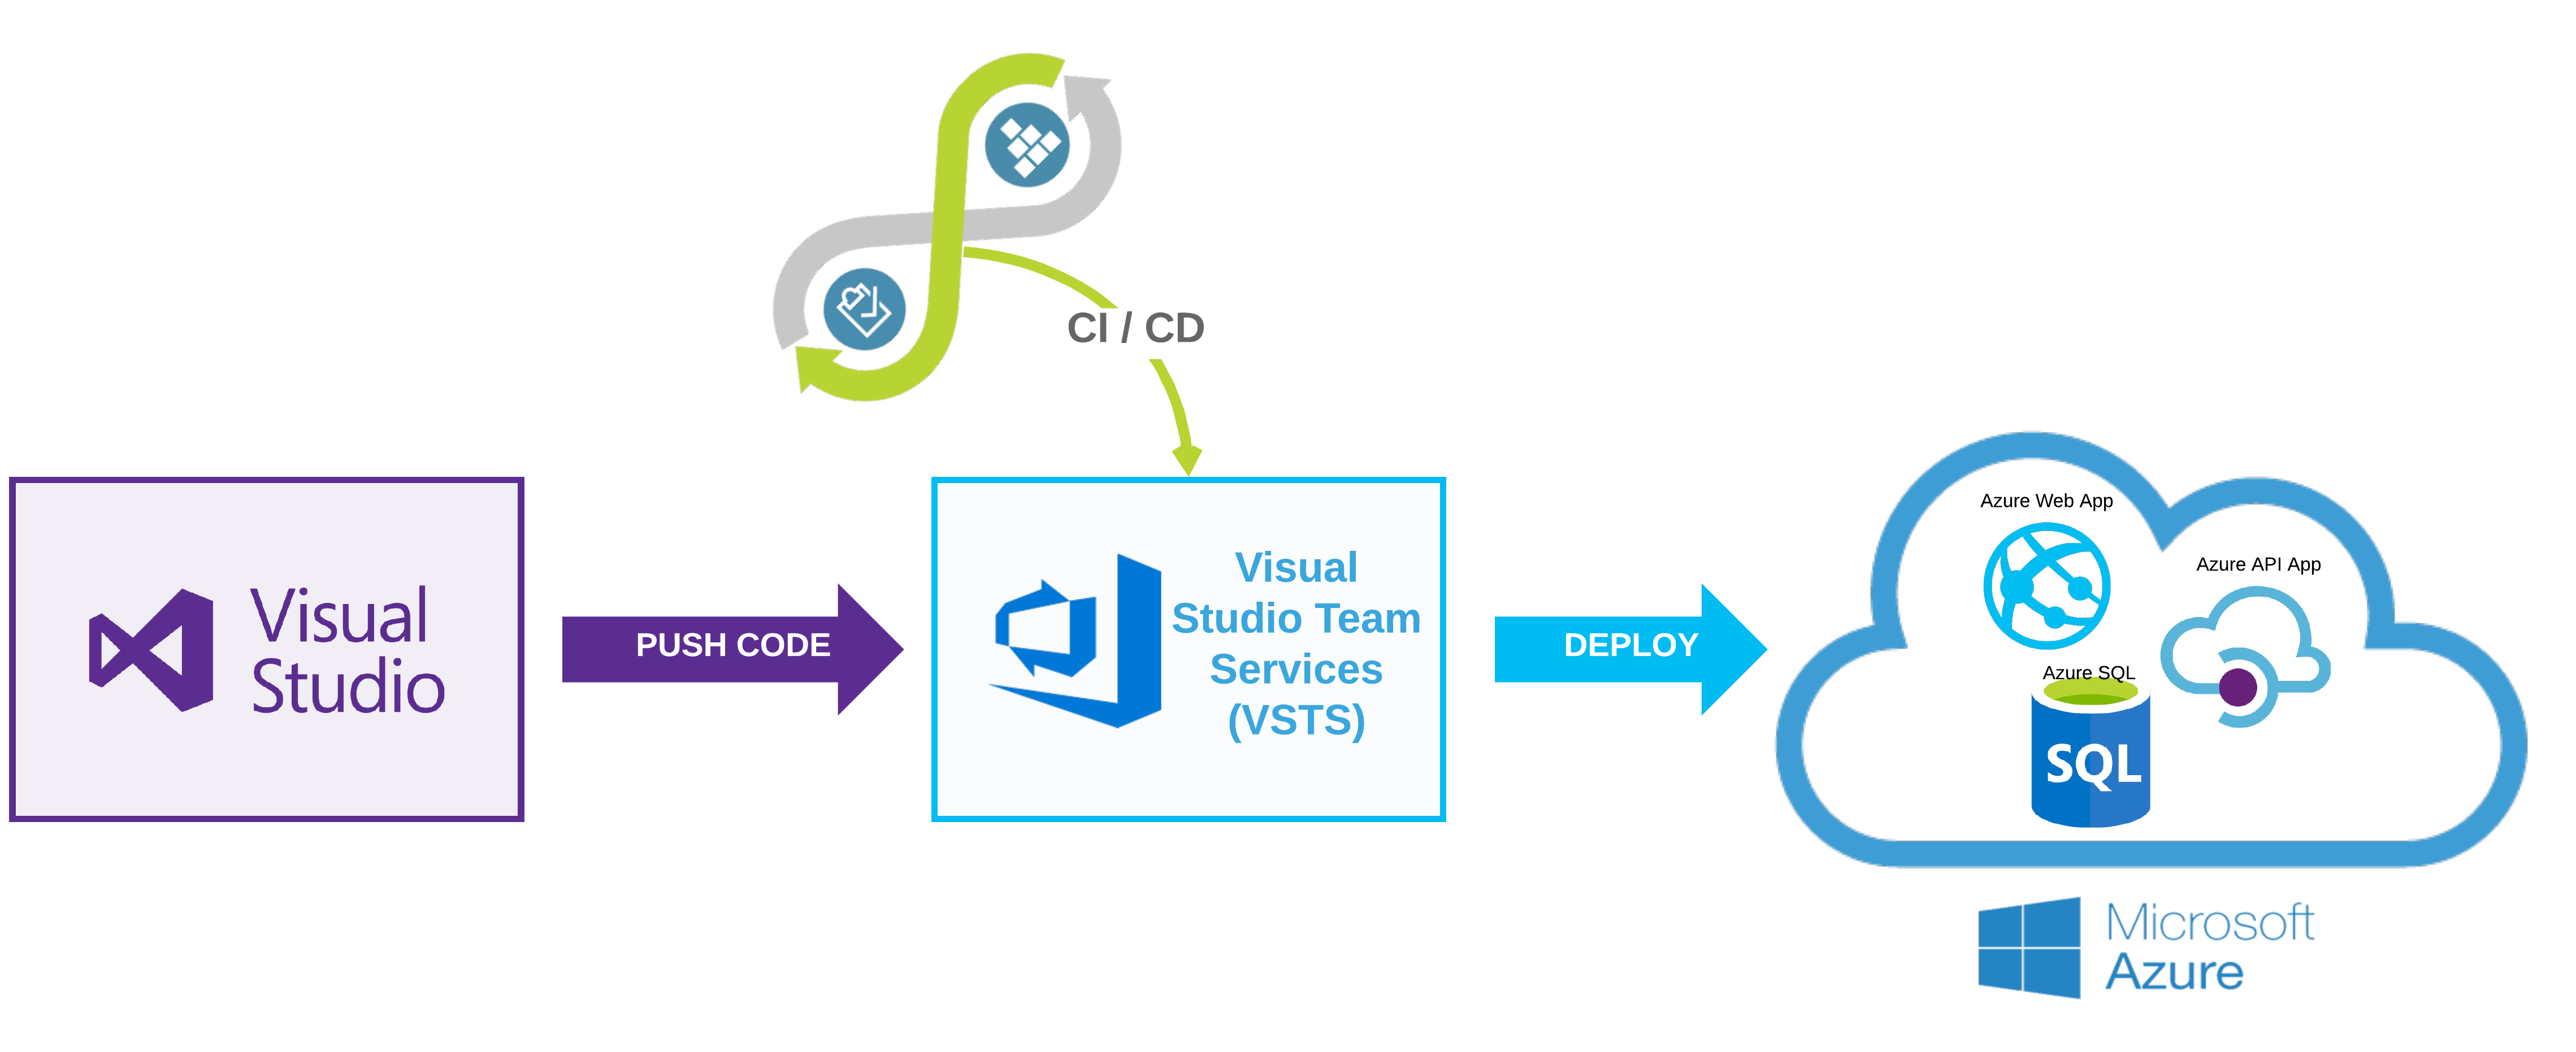
Crystal Tenn and I teamed up to bring an E2E blog series that features an Azure App Service website that communicates with an API project, which communicates to an Azure SQL back-end. The app is a traditional To-Do application based on an existing sample that used ADO.NET, but adapted for Azure deploy and to Visual Studio 2017. The technology/tooling stack is Visual Studio, VSTS, C#, Angular, and SQL.
The process for the app is described below. In Visual Studio, you will start out with a working To Do list application. You will push the code to VSTS (Visual Studio Team Services). Then you will create a CI/CD (Continuous Integration/Continuous Delivery) process in order to deploy to Azure. In Azure you will create 3 resources: Azure Web App, Azure API App, and an Azure SQL Server through this exercise.
- Local Setup - SQL Server - Locally connect a front-end website to an API, and connect the API to a SQL Server.
- Local Setup - Visual Studio and Swagger - Continue Part 1 and use a local instance of Visual Studio and Swagger to communicate to our db.
- Swagger - Learn how to use Swagger for API management
- Azure Deployment - Deploy the SQL database to Azure manually
- Azure Deployment - Deploy the front-end Web App and API App to Azure manually
- Adding the project to VSTS with Git
- VSTS Continuous Integration - Setup a CI Process in VSTS
- VSTS Continuous Deployment - Setup a CD Process in VSTS
- Cleanup - Cleanup and delete the Azure resources created in this tutorial
Keep in mind : While we won’t be going into the deep specifics of how to code, you should be able to use this guide to look at several parts of the Azure technology stack and how you can best implement them in your organization.
Prerequisites
Please download the required software listed below. If you already have the software and a different version, that is no problem at all, but probably best to use the latest version. If you have access to paid versions of the software, these are fine as well.
The tutorial can be completed for free, but will require a Azure account. Note: The Azure account asks you for a credit card number, but will not charge you at all or “roll into a paid version”, it simply expires when your trial month is up.
- Azure - Get a free account - You get $200 USD credit a month, these are “free” credits on a trial account and cost you nothing.
- Visual Studio 2017 - As a note, the instructions will be using Visual Studio 2017. You can get Visual Studio 2017 Community for free here: https://www.visualstudio.com/vs/community/.
- SQL Server Express: https://www.microsoft.com/en-us/sql-server/sql-server-editions-express
- SQL Server Management Studio: https://docs.microsoft.com/en-us/sql/ssms/download-sql-server-management-studio-ssms
- Basic understanding of coding & installation
Local Setup - SQL Server
The local setup will start with setting up your database. You will then open the solution in Visual Studio. You need to connect the API project to your SQL Server. Then connect your front end Angular project to the API project.
1.) We’ll be working with an existing app. So download it here and extract it to a folder on your hard drive.
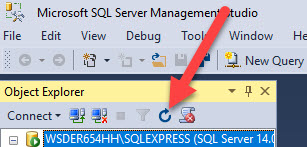
2.) Open SQL Server Management Studio (SSMS) and click the dropdown on Server Name and choose Browse for more.

3.) Choose the Server name of your instance. This name most likely will be in the format ComputerName\ServerName.
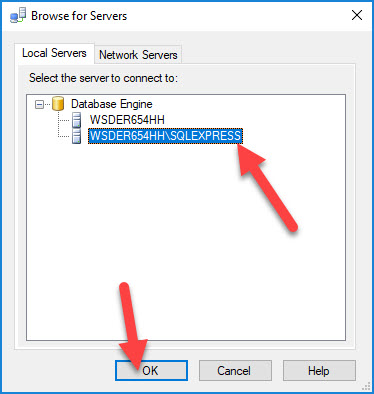
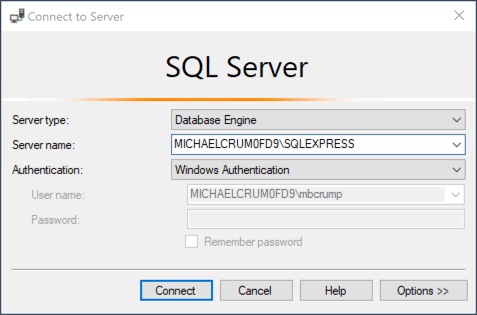
4.) Choose Windows Authentication. Save your ComputerName\ServerName in a Notepad, we will need this again later. Hit Connect.
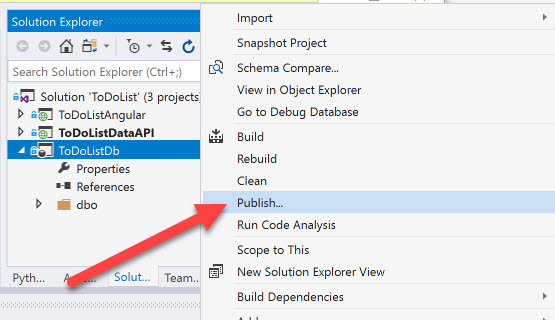
5.) Open the folder that we downloaded earlier by double clicking ToDoList.sln. It should open in Visual Studio 2017.
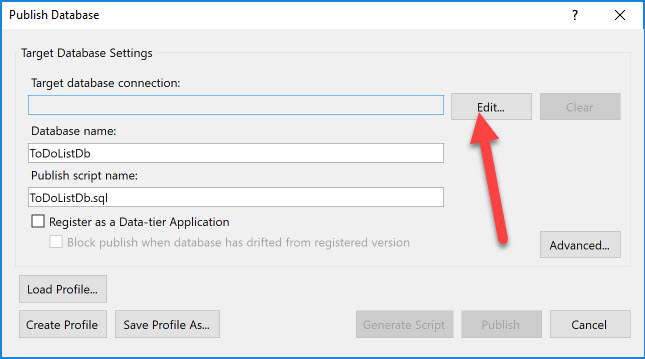
6.) Right click on the ToDoListDb project and choose Publish.
7.) On the modal, click Edit:
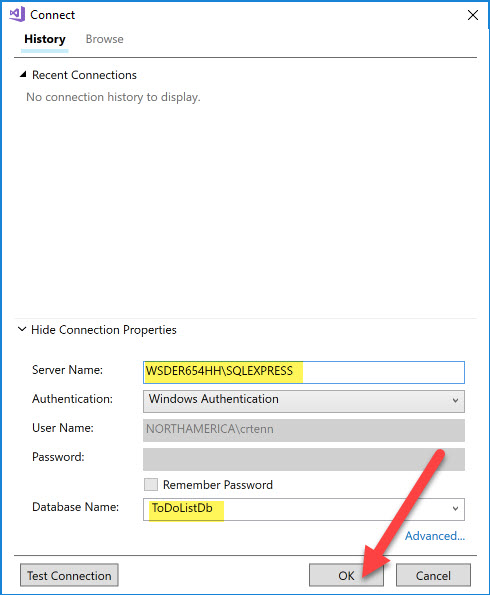
8.) For Server name, take the Notepad value you saved for ComputerName\ServerName and enter it here. Make sure the Database Name is ToDoListDb, but that should be filled in for you. Click OK.
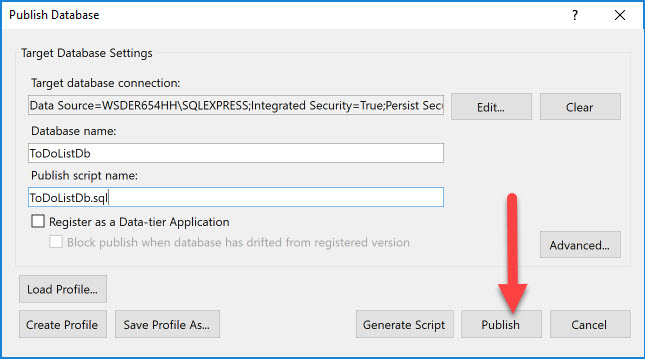
9.) Don’t edit any other values on this modal and just hit Publish. Note: Test Connection will not work.
10.) You will see the publish begin.
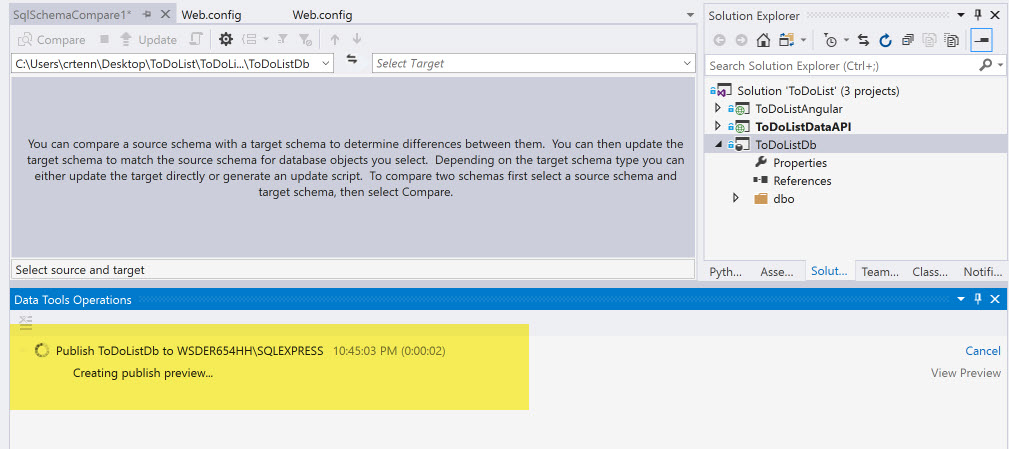
11.) It is done when you see this:

12.) Go back to SQL Server Management Studio and hit refresh:
13.) Your SQL database should look something like this now.
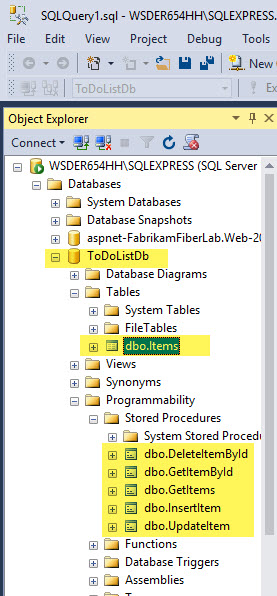
Congrats, we now have our SQL database setup locally. Come back and we’ll continue setting up Visual Studio and Swagger.
Also, follow Crystal and her other amazing work on GitHub. We’ll both be monitoring comments on this post.
Want more Azure Tips and Tricks?
If you’d like to learn more Azure Tips and Tricks, then follow me on twitter or stay tuned to this blog! I’d also love to hear your tips and tricks for working in Azure, just leave a comment below.
Leave a Comment