
Azure Tips and Tricks Part 16 - Deploy Jekyll Site Hosted on GitHub Pages to Azure
Intro
Most folks aren’t aware of how powerful the Azure platform really is. As I’ve been presenting topics on Azure, I’ve had many people say, “How did you do that?” So I’ll be documenting my tips and tricks for Azure in these posts.
The Complete List
Click here to view the complete list of Azure Tips and Tricks
Deploy Jekyll Site Hosted on GitHub to Azure
If you have already have an existing Jekyll based site that is hosted on GitHub, you can easily deploy that site to Azure App Services.
But why? If GitHub Pages is free, then why pay?
- You might want to push your site to a private repo (instead of public)
- Setting up “real” SSL, compared to the workarounds (see comments)
- Taking advantage of deployment slots.
I’m sure there are more, but those are top of mind for me.
Let’s begin
I’m assuming you already have a GitHub Pages site that uses Jekyll hosted on GitHub. If that is true, then the first thing that you’ll want to do is grab these three files.
- deploy.cmd - is a Kudu Deployment script that handles setup and deployment of the web site and ensures Ruby is installed
- getruby.cmd - is a site that ensure the latest version of Ruby is installed and ensures Jekyll has been built
- .deployment - is a configuration file that Kudu understands that calls the
deploy.cmdscript - Gemfile - you probably already have this but ensure it is there and if not then just copy mine.
Thanks goes to Khalid Abuhakmeh for writing the scripts
Once you have these three files, ensure they are in the root of your public GitHub pages site (ex. something.github.io)
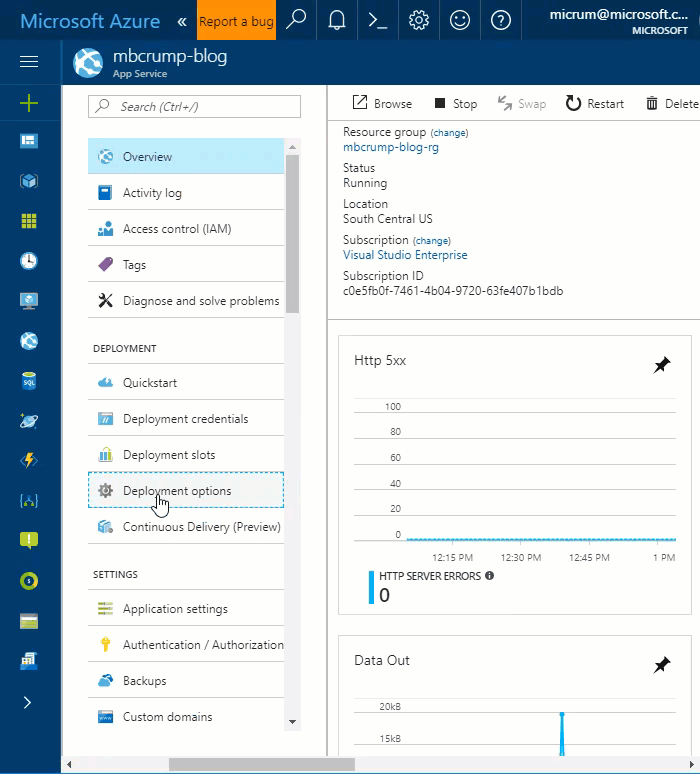
You’ll want to go inside of your Azure Portal (or use the CLI tools) and create an App Service -> Web App. Once the site is deployed, then go to Deployment Options and select GitHub, your project and press OK.
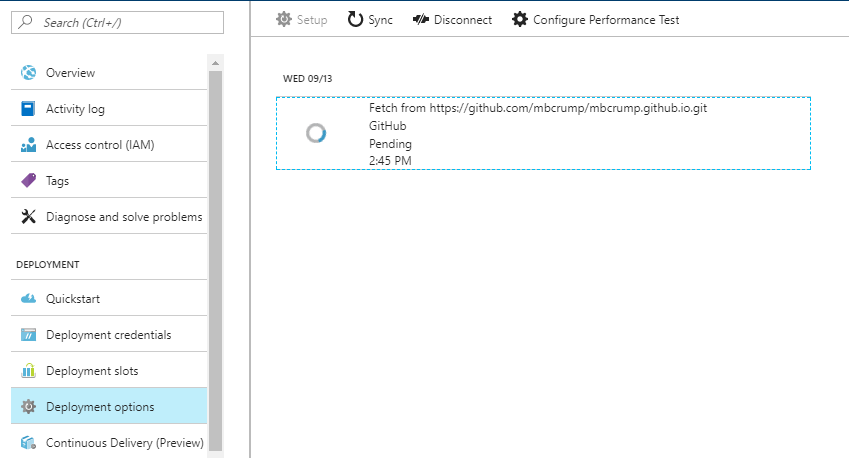
You should see “Settup up Deployment Source…” in the notification windows. You’ll probably want to wait a good 15 to 20 minutes for Azure to setup everything. You can stay on the Deployment Options blade and you should see the status of the deployment.
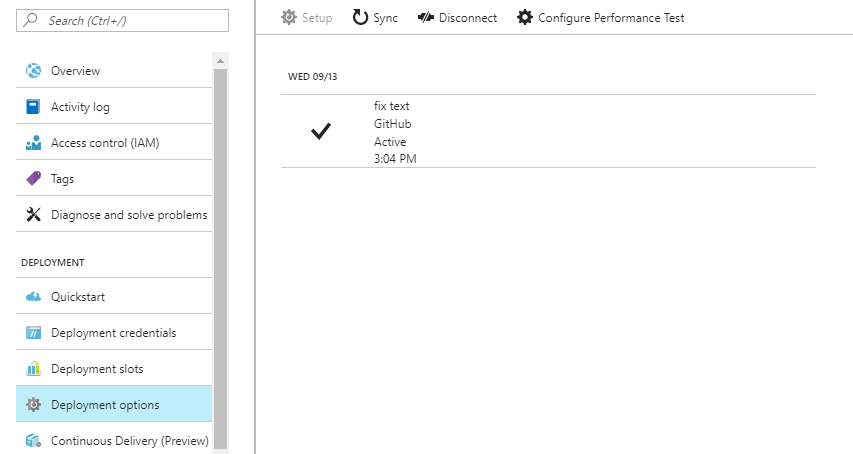
After a while you see a check mark that it completed successfully. Now you can navigate to the URL listed on the Overview blade.
Want more Azure Tips and Tricks?
If you’d like to learn more Azure Tips and Tricks, then follow me on twitter or stay tuned to this blog! I’d also love to hear your tips and tricks for working in Azure, just leave a comment below.
Leave a Comment