Getting started with SharePoint 2010 and Silverlight Web Parts – Part 1 of 2
I wanted to get familiar with SharePoint 2010 because I have noticed how the market is starting to demand it. Also most of the SharePoint 2010 guides on the net are outdated. They show everything from registry hacks/editing xml files to installing hot fixes/service packs. My guide uses the latest bits as of 6/7/11 to create a SharePoint 2010 server inside of an Virtual Machine. This will be more than enough to begin creating Silverlight Web Parts inside of SharePoint 2010.
NOTE: I did not want to use any automated tools to perform the install (specifically AutoSP Installer) because I want to understand the installation process myself. It would probably be easier to use such tools.
Have the following software available before starting: (You can use trial versions if necessary)
- VMWare Player – specifically because it supports x64 OS and was recommended by the SharePoint Community on Twitter.
- Windows Server 2008 R2 x64 w/ SP1 – because SharePoint 2010 requires an x64 operating system and getting it to run on Windows 7 looked painful / pointless.
- SQL Server 2008 R2 x64 – SP can run on SQL Express from what I have read but I noticed you need to install a lot of “hot fixes” in order to get it to run. Most SharePoint people were recommending using the full version of SQL Server.
- SharePoint Server 2010 x64 – Without this it would be hard to use SharePoint 2010!
- Visual Studio 2010 Ultimate – How else am I going to build the Silverlight Web Part?
Questions regarding my setup environment:
Host Server: i7-740QM (Quad-Core) 4GB DDR3 RAM
Ram supplied to VM: 1GB
The VM is responsive since it is running on a Crucial C300 SSD. I would recommend upgrading to 8GB of ram and dedicating at least 2GB to VM.
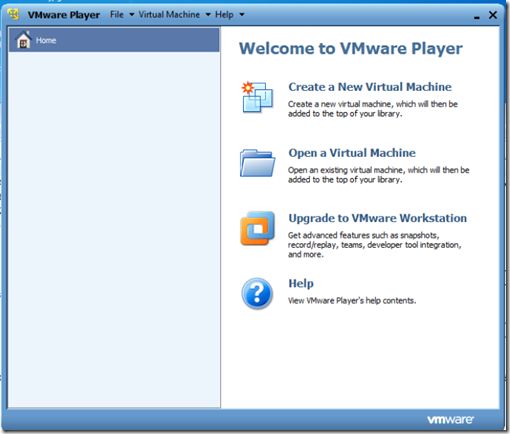
The first thing is to install is VMware Player. It requires a few reboots but once that is up and running you can click “Create a New Virtual Machine”.
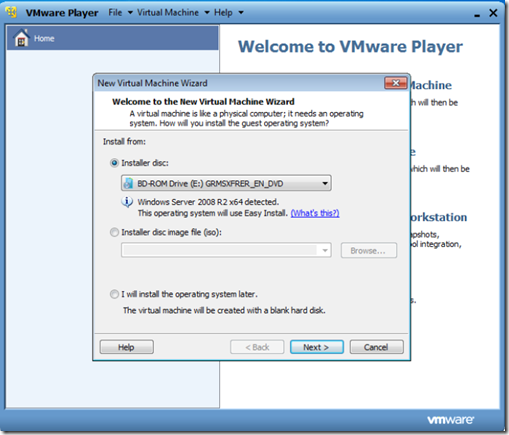
At this point you may want to go ahead and mount your .ISO image of Windows Server 2008 R2 x64 w/ SP1 to a drive by using the software built in or using CloneDrive.
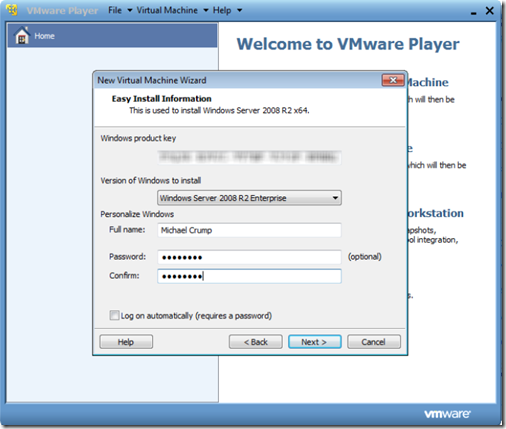
Go ahead and enter your product Key and enter your Full Name and a Password.
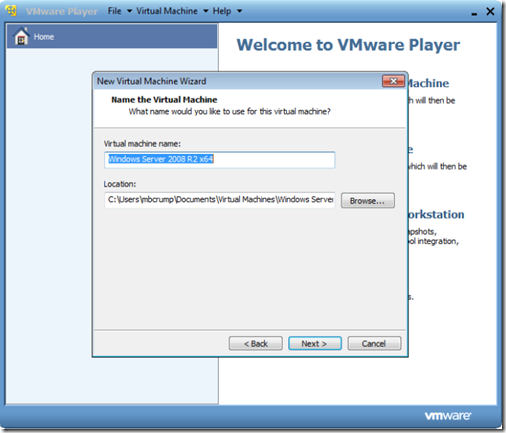
Now you are going to want to give it the virtual machine a name. I left it as the default name that VMware Player suggested.
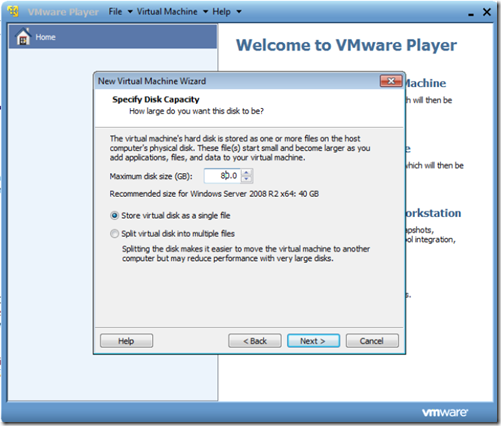
Next up is giving it a maximum disk size. The default is 40GB. I used 80GB because I had the space available. Please note that it will not take the full 40/80GB of your disk space immediately.
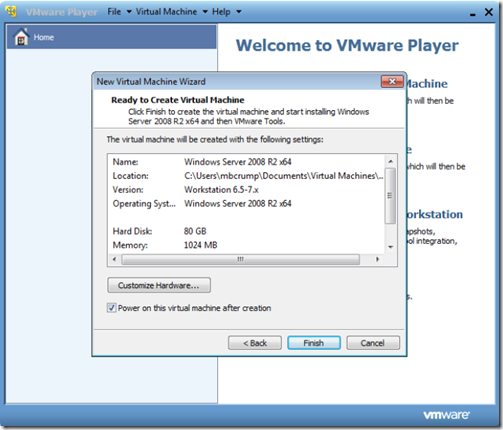
Review the changes and click “Finish”.
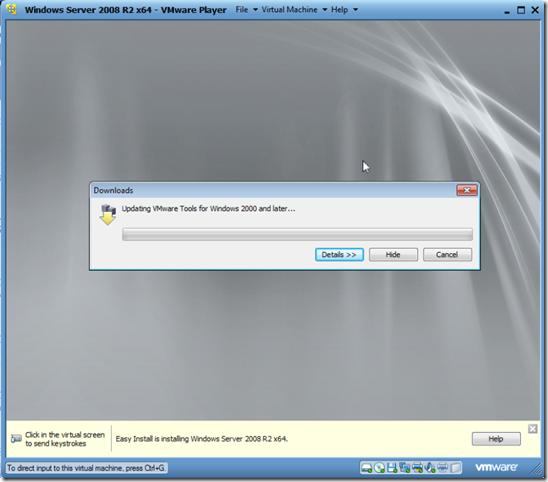
You will immediately see the following screen saying that it is “Updating VMware Tools for Windows 2000 and later…”
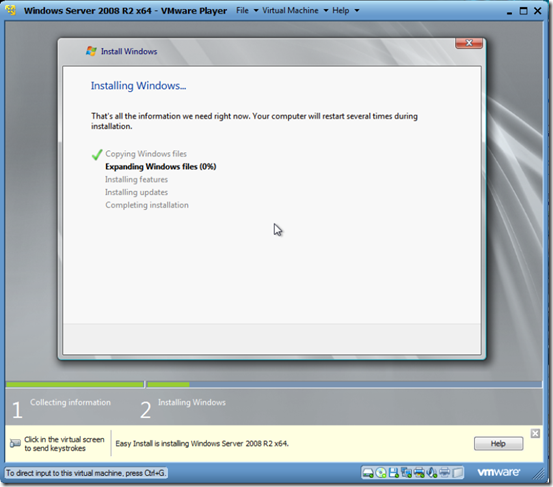
Next up is the “Installing Windows” screen that we all know and love.
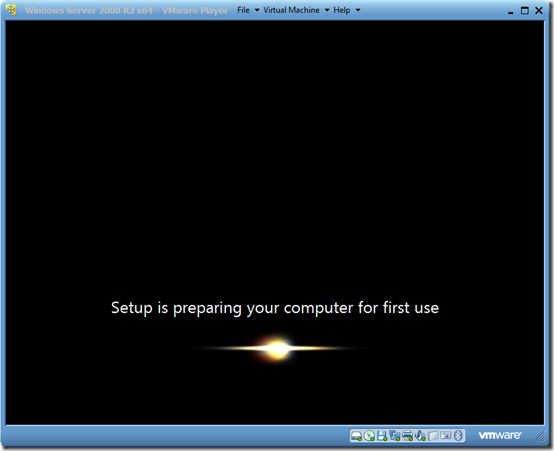
To finally “Setup is preparing your computer for first use”.
We are now ready to start installing the other pieces.

Leave a Comment