
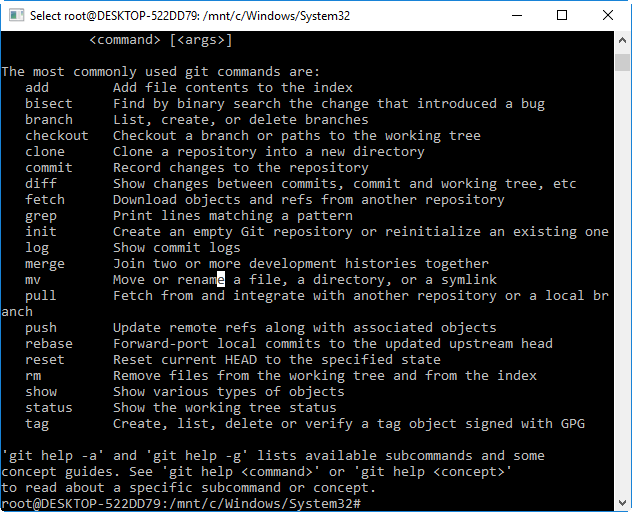
Command Line Fun for Windows 10 Users
Intro
If you’ve used a Mac, then more than likely you’re accustomed to using terminal to do many tasks. You can complete tasks that range from installing programs, pushing files to GitHub or local file manipulation. If you’re a Windows user, then more than likely you’ve heard about Bash, but haven’t used it yet. In this short guide, I’m going to walk you through how I use Bash on Windows 10 just like I used terminal on Mac.
Installation
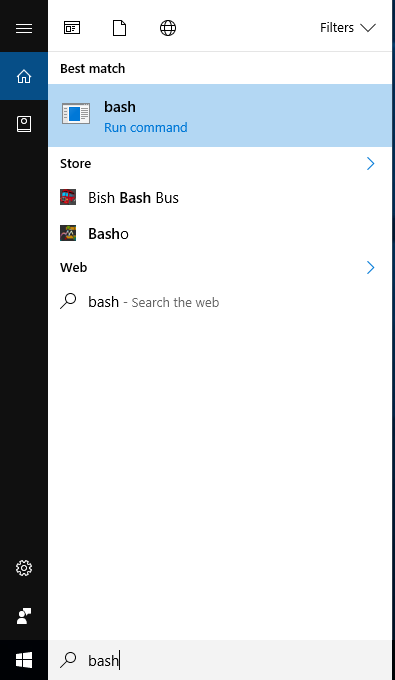
Just type ‘bash’ from the search box and take the first result. You can also install it with the Add/Remove features, but we want more command line fun right?
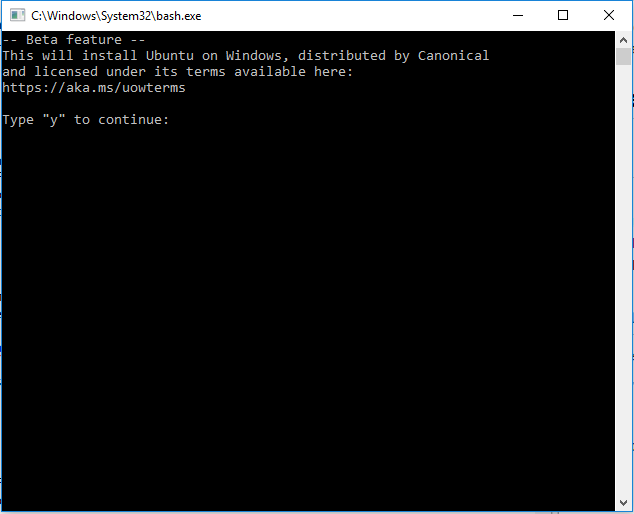
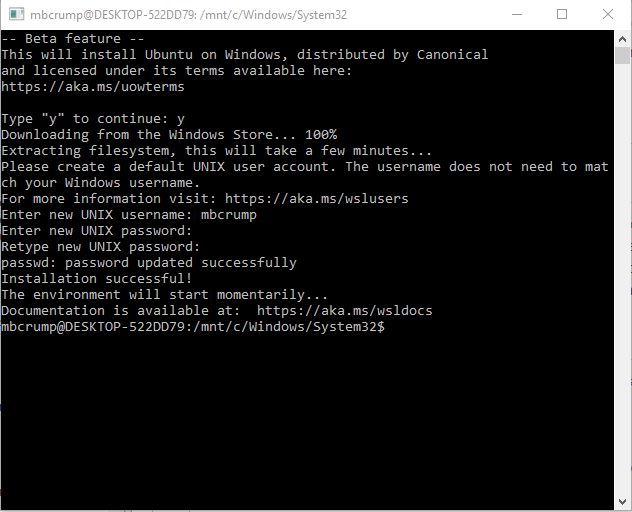
It will pop up this command prompt. Hit ‘Y’ and it will download it from the Windows Store.
You’ll need a UNIX username and password. You may want to write this down if you’re like me.
Updating
The first thing that I’m going to do is update the apt-get package index and install Git, Node and NPM. Switch to superuser mode by typing the following:
sudo su
You’ll now be logged in as root.
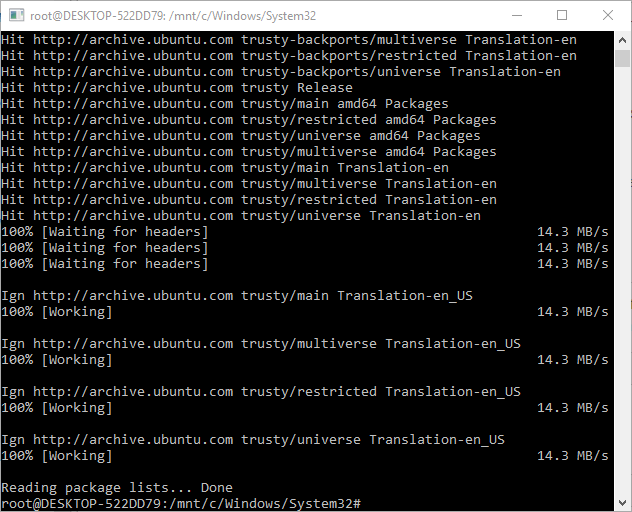
The very first thing that I do is update my apt-get package index.
apt-get -y update
If you’re wondering what apt-get is, it allows you to use Ubuntu’s Advanced Package Tool (APT) to download or modify programs. More info can be found here. Your screen will look like the following after running this command.
Install and use Git
If you simply type git, then you will see the following:
root@DESKTOP-522DD79:/mnt/c/Windows/System32# git
The program 'git' is currently not installed. You can install it by typing:
apt-get install git
Nice! It provides the command that you need to install git. So what are you waiting for? Go ahead and type :
apt-get install git
Success! Go ahead and run git and you should see the following:
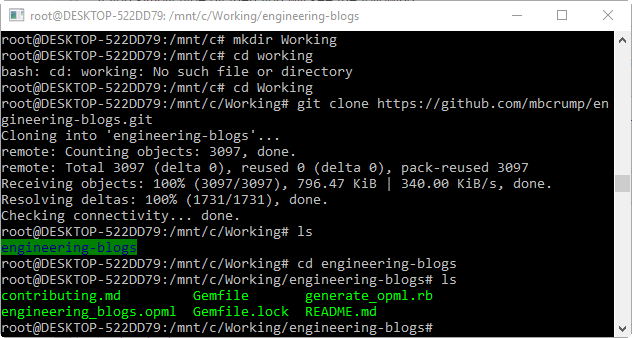
If I wanted to clone a directory from the command-line, then I would do the following:
cd ../../
mkdir Working
cd Working
git clone https://github.com/mbcrump/engineering-blogs.git
Change directory back to my home (depending on where you are at), make a directory called Working and then change into that directory and use my trusty git clone command.
Yeah! It completed successfully! All from the command-line on Windows 10. No need for the GitHub client anymore.
Install Node.js and NPM
I’d like to wrap up by installing Node.js and NPM. If you don’t know what Node.js is, then I’d encourage you to spend some time reading about it here. Since you are following this guide, you won’t need the installer found on that page.
Type the following:
curl -sL https://deb.nodesource.com/setup_6.x | sudo -E bash -
This will ensure you get the latest version. Type the following to install Node.js v6.x and npm.
apt-get install nodejs
Type the following to return the version of node.js that is installed and verify it was installed successfully:
node -v
NPM
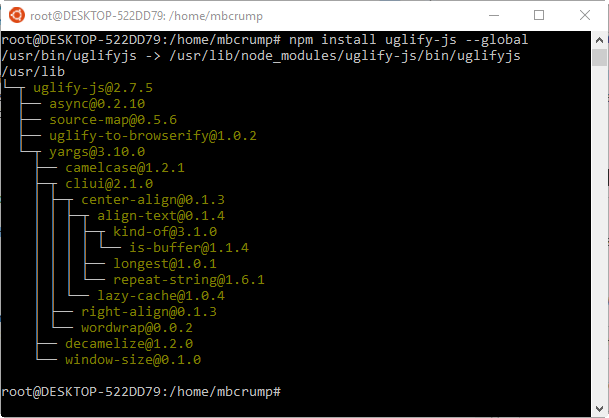
NPM is a package manager for JavaScript. More than likely you’ve seen examples such as ‘npm install packagename’. You are now able to do that directly on your Windows 10 box. We’ll go ahead and download and install Uglify. This is a JavaScript minification tool. Go ahead and type the following:
npm install uglify-js --global
After the installer runs then you will see the following:
Now if you had a JavaScript file that you wanted to minify, you could run the following command:
uglifyjs example.js -o example.min.js
Easy enough!
Wrap-up
I hope that this short guide helped, and that you saw how easy it is to use Bash on Windows 10. As always, thanks for reading and smash one of those share buttons to give this post some love if you found it helpful. Also, feel free to leave a comment below.
Leave a Comment