
Azure Tips and Tricks Part 52 - Deploy Azure Functions with Visual Studio Code
Intro
Most folks aren’t aware of how powerful the Azure platform really is. As I’ve been presenting topics on Azure, I’ve had many people say, “How did you do that?” So I’ll be documenting my tips and tricks for Azure in these posts.
The Complete List of Azure Tips and Tricks
Deploy Azure Functions with Visual Studio Code
We previously looked at adding an Azure Function project to Visual Studio Code in this post and then we looked at debugging it locally. In this post, we’ll wrap up this mini-series by deploying Azure Functions to Azure directly.
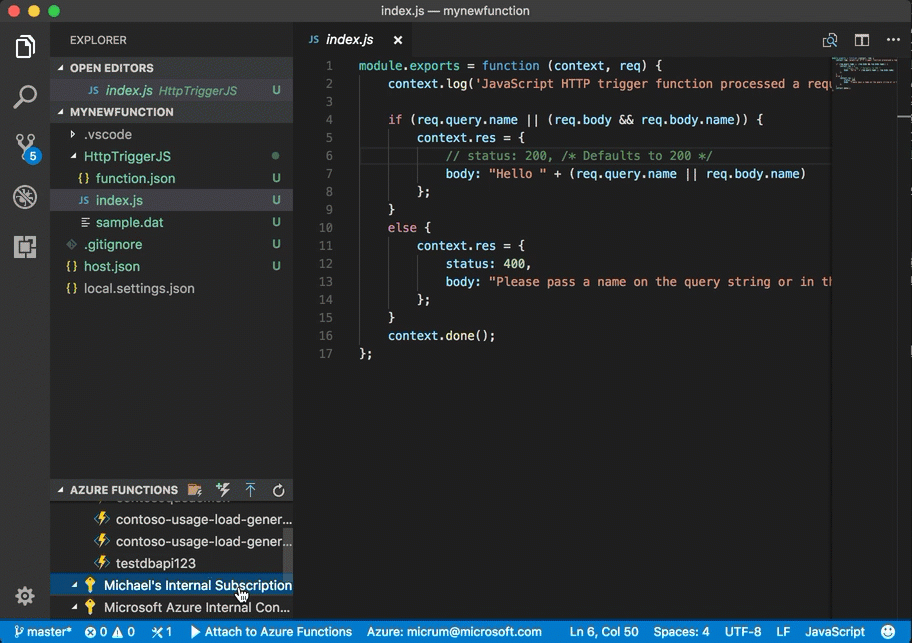
Select the Azure subscription that you’d like to use and select “Create Function App in Azure.” You’ll need to select a name and then a resource group (or create a new one). Finally, you’ll need a storage account which you can also create a new one or select an existing one. Once that is complete, the Azure Function has been created in Azure.
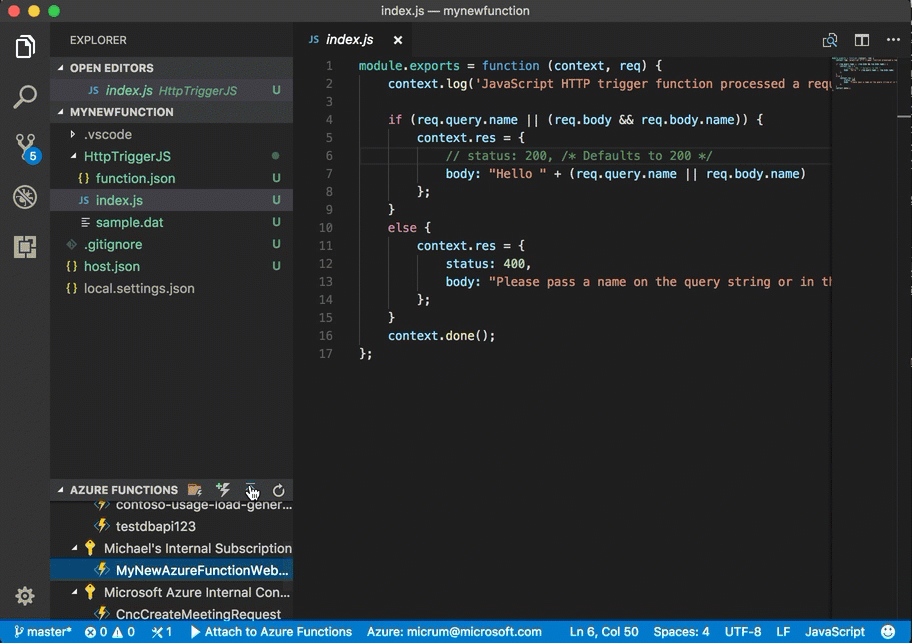
Now we’ll push some code to the newly created Azure Function. Select your Azure Subscription and click deploy. You’ll be asked to select the folder to deploy (which it creates a zip), then a subscription, the Function App. Press Yes when asked to overwrite and it will begin deploying.
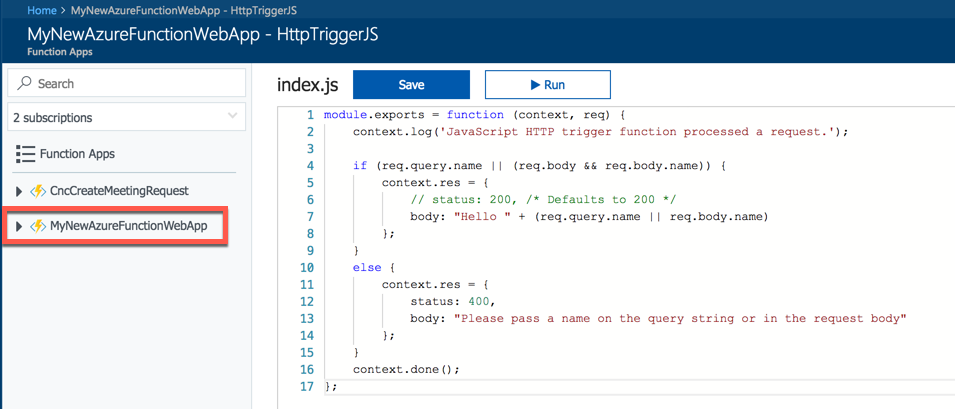
You can switch over to your browser to verify if you want.
That was easy!
Want more Azure Tips and Tricks?
If you’d like to learn more Azure Tips and Tricks, then follow me on twitter or stay tuned to this blog! I’d also love to hear your tips and tricks for working in Azure, just leave a comment below.
Leave a Comment