
Azure Tips and Tricks Part 33 - Prevent Changes to Resources in Azure App Service
Intro
Most folks aren’t aware of how powerful the Azure platform really is. As I’ve been presenting topics on Azure, I’ve had many people say, “How did you do that?” So I’ll be documenting my tips and tricks for Azure in these posts.
The Complete List of Azure Tips and Tricks
Prevent Changes to Resources in Azure App Service
Locks allow you to prevent changes to a subscription or resources to prevent other users from accidentally deleting or modifying critical resources.
In order to take advantage of locks, you’ll need to log into your Azure account and go to your App Service that you created and look under Settings then you will see Locks. Open it and you’ll see that you don’t have any locks created. Go ahead and click Add and you’ll see the following.
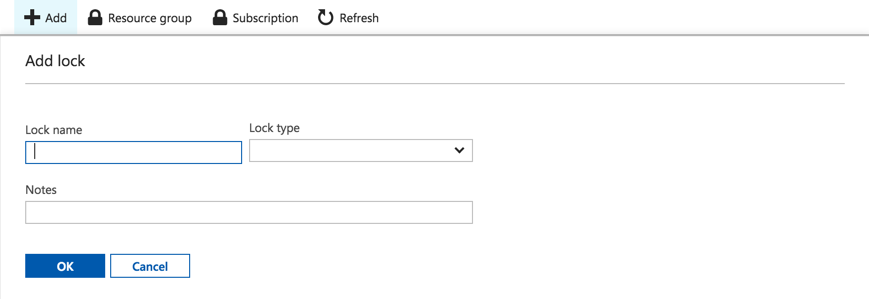
You’ll want to provide the following information, but only the Lock type is required:
- Name - Give it any name that you want
- Lock Type - This can be Read-only or Delete
Delete - means that you can’t delete the resource, your users can still read and modify though. ReadOnly - means users can read a resource, but they can’t delete or update the resource.
- Notes - A description of the Lock.
Fill out the form and press OK as shown below.
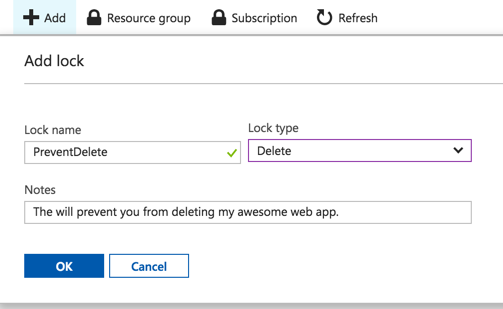
You can delete the lock by clicking on the ellipsis.

No Portal, no problem! If you don’t want to use the portal, then you can also use Templates, PowerShell, Azure CLI or the REST API. The choice is yours!
Want more Azure Tips and Tricks?
If you’d like to learn more Azure Tips and Tricks, then follow me on twitter or stay tuned to this blog! I’d also love to hear your tips and tricks for working in Azure, just leave a comment below.
Leave a Comment