
Azure Tips and Tricks Part 26 - Load Testing web apps with Azure App Services
Intro
Most folks aren’t aware of how powerful the Azure platform really is. As I’ve been presenting topics on Azure, I’ve had many people say, “How did you do that?” So I’ll be documenting my tips and tricks for Azure in these posts.
The Complete List of Azure Tips and Tricks
Intro
We’ve recently created a web app and uploaded it to Azure App Service. We also took a look at multiple ways to examine those files through the Azure portal interface and how we’d add extensions and deployment slots for our web app. We also took a look at a feature called Testing in Production which allows us to distribute traffic between our production and other slots. We also looked at using PowerShell to automatically distribute the load between your Production and deployment slot sites with the Testing in Production feature and looking briefly at the Azure Resource Explorer to explore REST APIs. In this post, we’ll look at a simple and quick way to perform load testing of your web app.
Load Testing web apps with Azure App Services
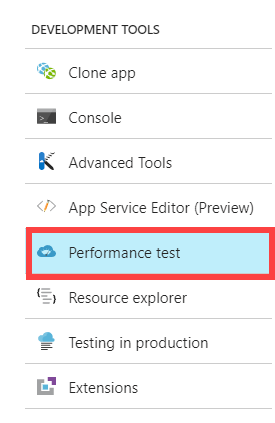
Load Testing allows you to test your web app’s performance and determine if your app can handle increased traffic during peak times. If you log into your Azure account and go to your App Service that you created and look under Development Tools then you will see it.
Inside the blade, select New and you will see the following options:
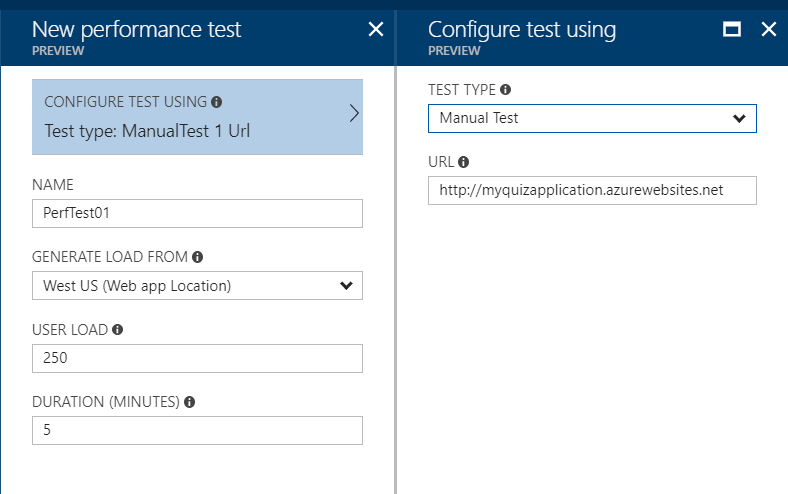
You have the option to Configure Test and you can leave this as Manual Test or Visual Studio Web Test. The main difference between the two is that with the latter you can select multiple URLs and even use a HTTP Archive file (such as one created by Fiddler). Leave the testing option as manual and select a name and location and make sure you leave the defaults as 250 users for 5 minutes.
Use Case Scenario Suppose you have a web app and you have something for sale. You have an upcoming promo that last year had 175 users connected for 5 minutes. Users complained that the site was slow and since your site has grown, you want to improve customer satisfaction by reducing the page load time and test your web app with a load of 250 users for 5 minutes.
Let the test run and you’ll be presented with the following information once it has completed.
For this demo, We can see that the average response time decreased while request per second increased. If we had of chosen a larger time, then we probably would have more detail to help locate where we could improve performance of our web app. You may also want to check out the Status Message panel for additional information about the test.
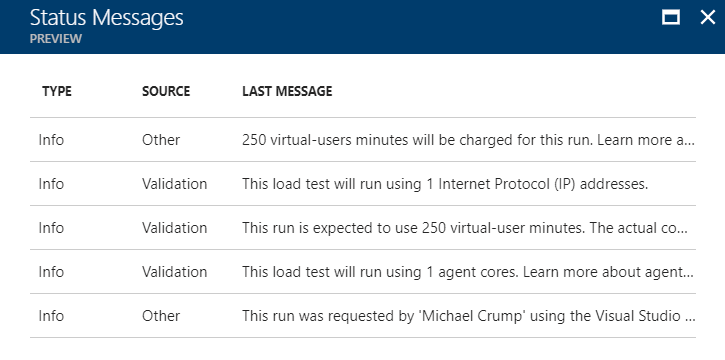
Look out! Keep in mind that there is a charge for performing a load test in terms of virtual-users as indicated in the screen-shot.
Cool! We were able to do this without writing code and with just a couple of clicks in the portal.
Want more Azure Tips and Tricks?
If you’d like to learn more Azure Tips and Tricks, then follow me on twitter or stay tuned to this blog! I’d also love to hear your tips and tricks for working in Azure, just leave a comment below.
Leave a Comment