
Azure Tips and Tricks Part 127 - Mount a drive and upload files to Cloud Shell
Check out Azure.Source by Rob Caron : A very nice mix of Azure news, announcements, videos, podcast and more. Read weekly
Intro
Most folks aren’t aware of how powerful the Azure platform really is. As I’ve been presenting topics on Azure, I’ve had many people say, “How did you do that?” So I’ll be documenting my tips and tricks for Azure in these posts.
The Complete List of Azure Tips and Tricks
Overview
When working with Azure Cloud Shell, you sometimes need the ability to upload files to work with later. I’m going to call out the two methods that I use to accomplish this task all the time.
Mount a drive and upload via the Azure Portal
In method one, we’ll update the file share that’s associated with Cloud Shell by using the clouddrive mount command. Note: that you may already have a cloud drive that is created upon initial start of cloud shell. Go ahead and spin up Azure Cloud Shell and type clouddrive -h to see the commands to mount and unmount a drive.
michael@Azure:~$ clouddrive -h

Group
  clouddrive                  :Manage storage settings for Azure Cloud Shell.

Commands
  mount                       :Mount a file share to Cloud Shell.
  unmount                     :Unmount a file share from Cloud Shell.
To mount a drive, we’ll type clouddrive mount -h to see a help screen that is looking for the following parameters:
Arguments
  -s | --subscription id          [Required]:Subscription ID or name.
  -g | --resource-group group     [Required]:Resource group name.
  -n | --storage-account name     [Required]:Storage account name.
  -f | --file-share name          [Required]:File share name.
  -d | --disk-size size                     :Disk size in GB. (default 5)
  -F | --force                              :Skip warning prompts.
  -? | -h | --help                          :Shows this usage text.
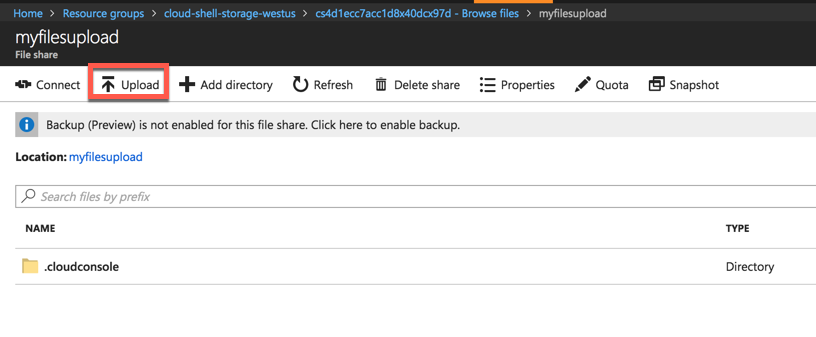
We’ll now simply call clouddrive mount -s subscription-id -g your-resource-group-name -n storage-account -f storage-file-name to create our drive. Once it has completed, we’ll navigate to the resource and hit the Upload button and upload a file. Again, you could have navigated to your existing resource group instead of creating a new one - but I want you to learn how to do this manually.
Now type cd clouddrive and ls -l and you should see the file you just uploaded:
michael@Azure:~/clouddrive$ ls -l
total 53
-rwxrwxrwx 1 root root 53385 May 29 23:55 cloudshellnew1.png
michael@Azure:~/clouddrive$
Upload via Cloud Shell button
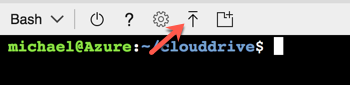
The second method involves pressing the Upload button built right into Azure Cloud Shell.
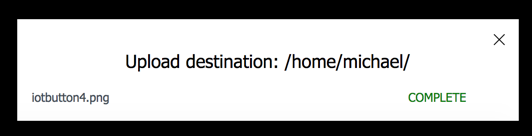
After you press this button and provide the file, you’ll see that it is uploading it into your /HOME/username folder
Now you can simply type cp filename cloudrive to copy the file and have access to the file via cloud drive.
Very cool and fast!
Want more Azure Tips and Tricks?
If you’d like to learn more Azure Tips and Tricks, then follow me on twitter or stay tuned to this blog! I’d also love to hear your tips and tricks for working in Azure, just leave a comment below.
Leave a Comment