
Azure Tips and Tricks Part 58 - Continuous Deployment with Docker and Web App for Containers
Intro
Most folks aren’t aware of how powerful the Azure platform really is. As I’ve been presenting topics on Azure, I’ve had many people say, “How did you do that?” So I’ll be documenting my tips and tricks for Azure in these posts.
The Complete List of Azure Tips and Tricks
Continuous Deployment with Docker and Web App for Containers
To recap, last week I used Docker Compose to create an image using our existing ASP.NET WebAPI project and push it to Docker Cloud. I also covered deploying it to Azure using Web App for Containers. Yesterday, I explained the difference between Docker Registry and Docker Repository and today, I’ll cover setting up Continuous Deployment with Docker and Web App for Containers.
Navigate back to the Web App for Container service we recently created. Look under Settings and click on Docker Container. You’ll see Continuous Deployment and will need to switch it on and then Show the URL and copy and paste it into somewhere else. Go ahead and press save.

Note If you want to verify CD is setup correctly, go to your Application Settings and under App Settings, you’ll see DOCKER_ENABLE_CI has been set to true.
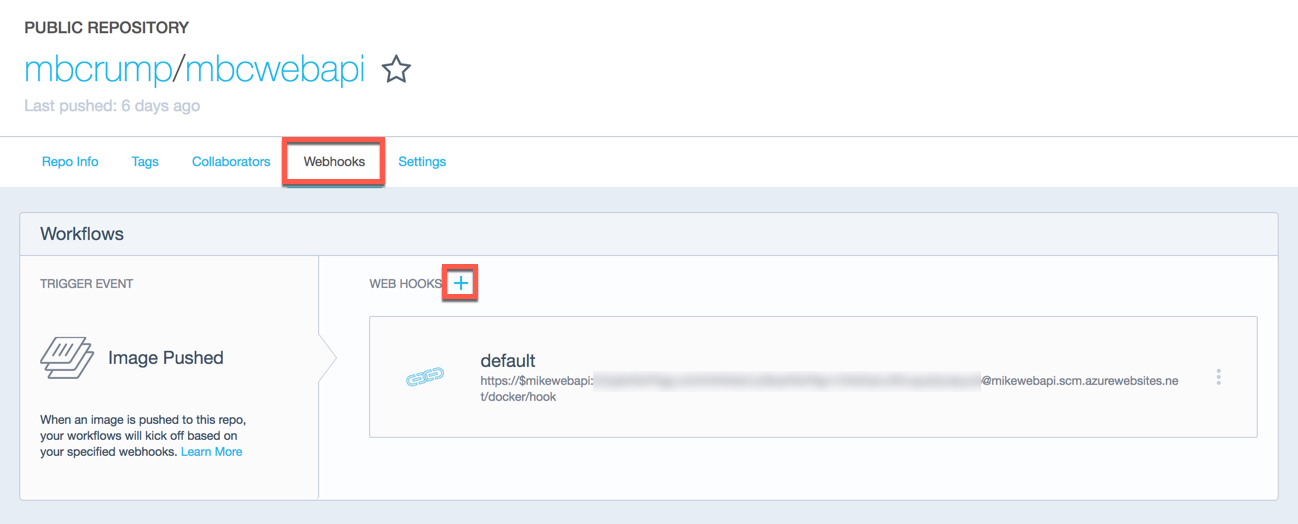
Navigate back over to Docker Hub and navigate to your repository. You’ll see Web Hooks and want to add the URL that you copied earlier.
Now head back to the terminal or command prompt and make a change to your application. I’m going to go into my ValuesController.cs application and modify what returns from the api\values to "myupdatedvalue1", "myupdatedvalue2" instead of "value1", "value2"
// GET api/values
        [HttpGet]
        public IEnumerable<string> Get()
        {
            return new string[] { "myupdatedvalue1", "myupdatedvalue2" };
        }
I’m going to run the publish -c Release -o ./obj/Docker/publish command to create the new .dlls for the site.
Michaels-MacBook-Pro:mbcwebapi mbcrump$ cd mbcwebapi
Michaels-MacBook-Pro:mbcwebapi mbcrump$ dotnet publish -c Release -o ./obj/Docker/publish
Microsoft (R) Build Engine version 15.3.409.57025 for .NET Core
Copyright (C) Microsoft Corporation. All rights reserved.

  mbcwebapi -> /Users/mbcrump/mbcwebapi/mbcwebapi/bin/Release/netcoreapp2.0/mbcwebapi.dll
  mbcwebapi -> /Users/mbcrump/mbcwebapi/mbcwebapi/obj/Docker/publish/
Now I’ll run docker-compose build to rebuild my latest image.
Michaels-MacBook-Pro:mbcwebapi mbcrump$ docker-compose build
Building mbcwebapi
Step 1/6 : FROM microsoft/aspnetcore:2.0
 ---> 757f574feed9
Step 2/6 : ARG source
 ---> Using cache
 ---> 96deb3aec068
Step 3/6 : WORKDIR /app
 ---> Using cache
 ---> c0fecb757aa4
Step 4/6 : EXPOSE 80
 ---> Using cache
 ---> e4f034c54397
Step 5/6 : COPY ${source:-obj/Docker/publish} .
 ---> 99956ad310ad
Step 6/6 : ENTRYPOINT dotnet mbcwebapi.dll
 ---> Running in d852ec609fa3
 ---> 84120db3271e
Removing intermediate container d852ec609fa3
Successfully built 84120db3271e
Successfully tagged mbcrump/mbcwebapi:latest
I’ll now push this image to Docker Cloud with docker push mbcrump/mbcwebapi:latest
Michaels-MacBook-Pro:mbcwebapi mbcrump$ docker push mbcrump/mbcwebapi:latest
The push refers to a repository [docker.io/mbcrump/mbcwebapi]
bb538a44e79e: Pushed
2810d33d0bd6: Layer already exists
eff6ab78003d: Layer already exists
8b2ae5b337fe: Layer already exists
587f57f69c02: Layer already exists
5c4bb5b2f630: Layer already exists
a75caa09eb1f: Layer already exists
latest: digest: sha256:d441ddbc8854b63529e7e99e5731a7497dd5c14665a9bfc5cb006827018cb518 size: 1790
Michaels-MacBook-Pro:mbcwebapi mbcrump$
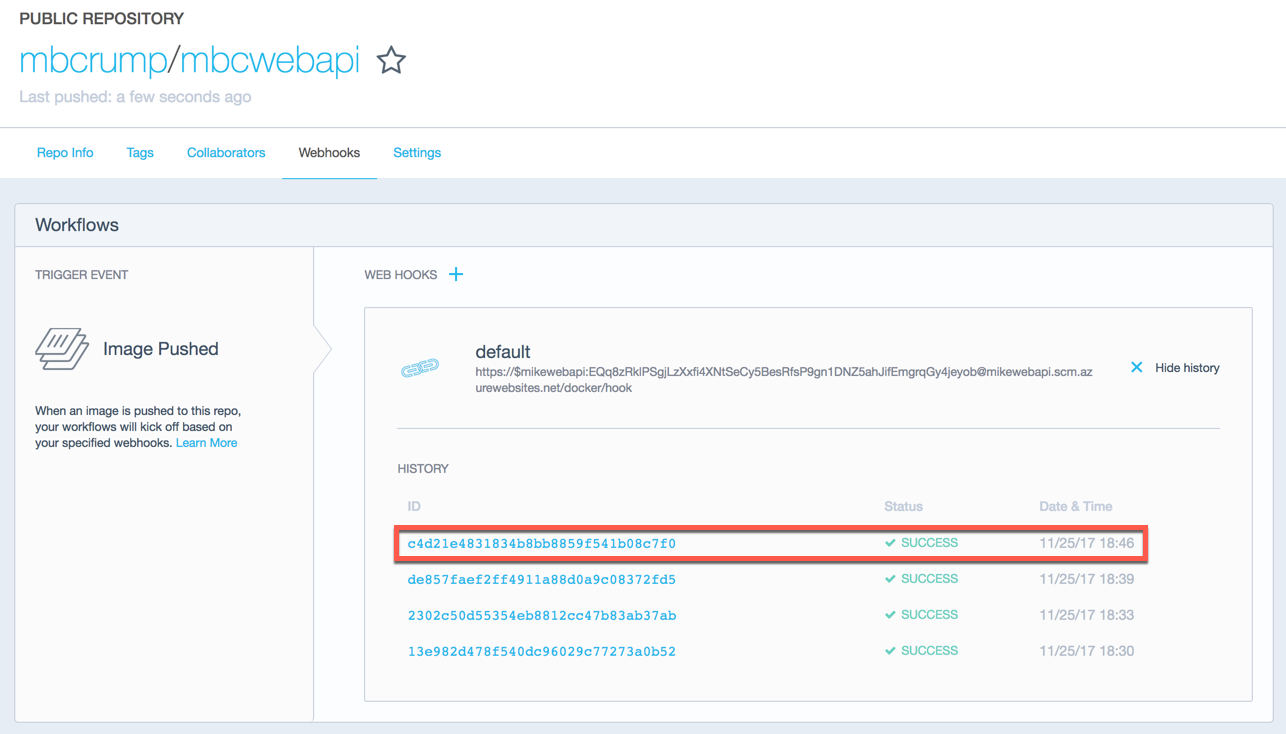
If I switch back over to Docker Hub, then I show History and see it has automatically deployed my latest build.
If I go back to my site and enter my url and append /api/values, then I’ll see the updated values. Success!
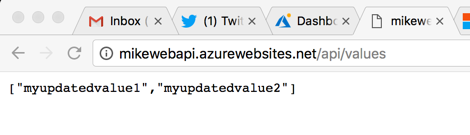
So very cool!
Want more Azure Tips and Tricks?
If you’d like to learn more Azure Tips and Tricks, then follow me on twitter or stay tuned to this blog! I’d also love to hear your tips and tricks for working in Azure, just leave a comment below.
Leave a Comment