
Azure Tips and Tricks Part 138 - Host a Static Website with Azure Storage
Intro
Most folks aren’t aware of how powerful the Azure platform really is. As I’ve been presenting topics on Azure, I’ve had many people say, “How did you do that?” So I’ll be documenting my tips and tricks for Azure in these posts.
The Complete List of Azure Tips and Tricks
Host a Static Website with Azure Storage
A feature that was recently announced was the ability to run a static website using Azure Storage. I decided to take it for a quick test spin and show you the experience.
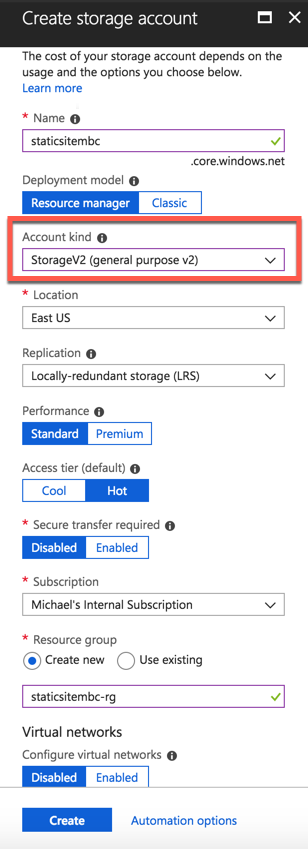
Begin by creating a new Azure Storage Account and provide a name and under the Account Kind make sure that you select StorageV2. Go ahead and configure the rest of the options and press Create.
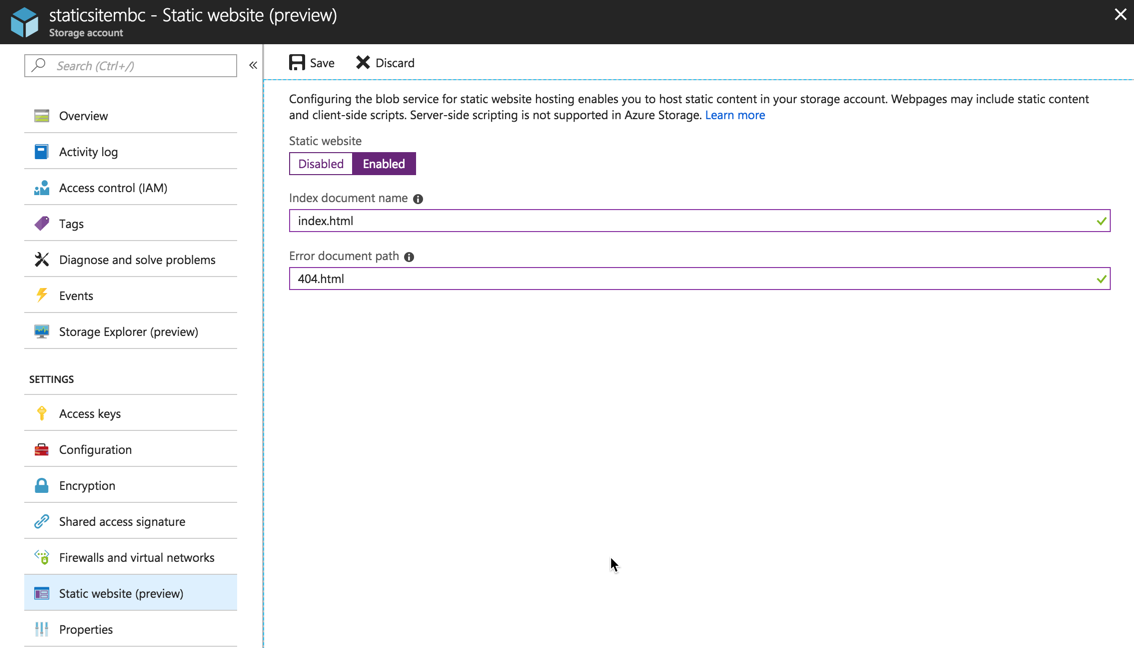
After it creates the resouce then go to Settings and select Static website. You’ll see a couple of options after selecting Enabled for Static Website.
Under the Index Document Name type index.html and under Error document path type 404.html.
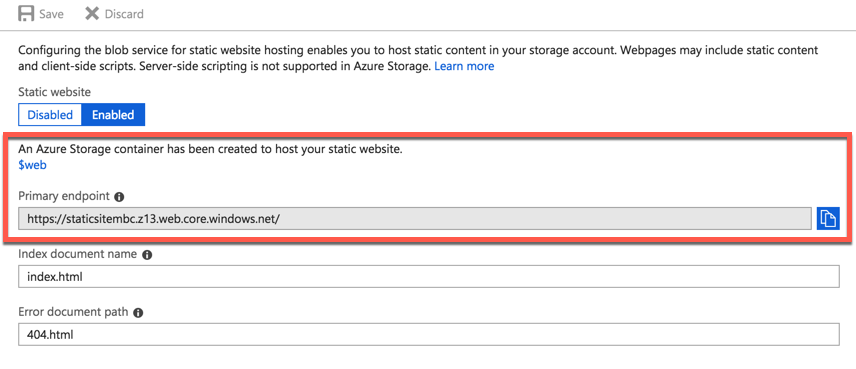
Once you press Save, you’ll see there is a $web folder that you can click on to upload your files. I simply dropped a single index.html file with some text to test. You’ll also want to jot down the Primary endpoint location as you’ll test your site with that URL.
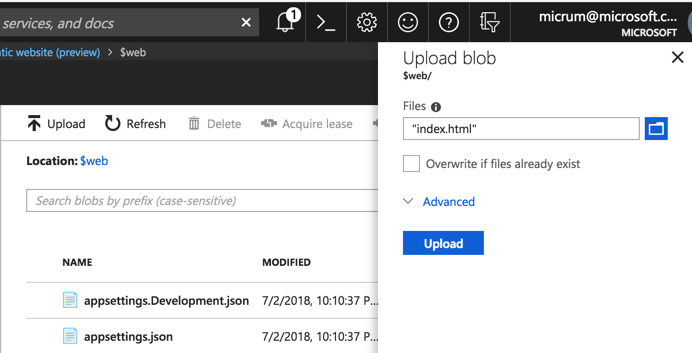
Once you’ve uploaded your file to $web then go to your browser and paste in the URL provided in the previous step.
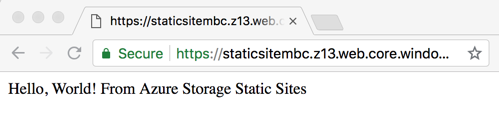
Success! Now give it a show with a static website blog engine, etc. Something like Blazor or Miniblog might be fun to try out. Basically anything that produces html can run now in Azure Storage. I hope this helps!
Want more Azure Tips and Tricks?
If you’d like to learn more Azure Tips and Tricks, then follow me on twitter or stay tuned to this blog! I’d also love to hear your tips and tricks for working in Azure, just leave a comment below.
Leave a Comment