
Azure Tips and Tricks Part 126 - Getting Started with Azure IoT Central
Check out Azure.Source by Rob Caron : A very nice mix of Azure news, announcements, videos, podcast and more. Read weekly
Intro
Most folks aren’t aware of how powerful the Azure platform really is. As I’ve been presenting topics on Azure, I’ve had many people say, “How did you do that?” So I’ll be documenting my tips and tricks for Azure in these posts.
The Complete List of Azure Tips and Tricks
IoT Exploration so Far
Back in post #96, I started exploring the Azure IoT DevKit that included the new MXChip. While I was exploring the device with my son, we eventually made the device send a tweet every time the button was pressed and I haven’t done much with it until recently. So what does that have to do with Azure IoT Central? Well, we’ll be exploring the SaaS offering and connecting the same MXChip to it.
Getting Started with Azure IoT Central
Azure IoT Central (as defined by Microsoft) is a fully managed SaaS solution that makes it easy to connect, monitor and manage your IoT assets at scale. It simplifies the initial setup of your IoT solution and reduces the management burden, operational costs, and overhead of a typical IoT project. So, when I think of this, my initial reaction is that I can setup different roles and manage an IoT project without getting too deep into the weeds. Obviously, I can if I want, but this should get me up and running fast.
Head over to the Azure IoT Central Application Manager page and sign in (using a MSA) and you’ll be presented with an option to create a new application. Since we’re using our MX Chip, we’ll select the following:
- Choose the Free Trial Application.
- Choose the Sample DevKit template.
- Give it a name and Azure will generate a unique URL for you (which you can change later).
- Then choose Create.
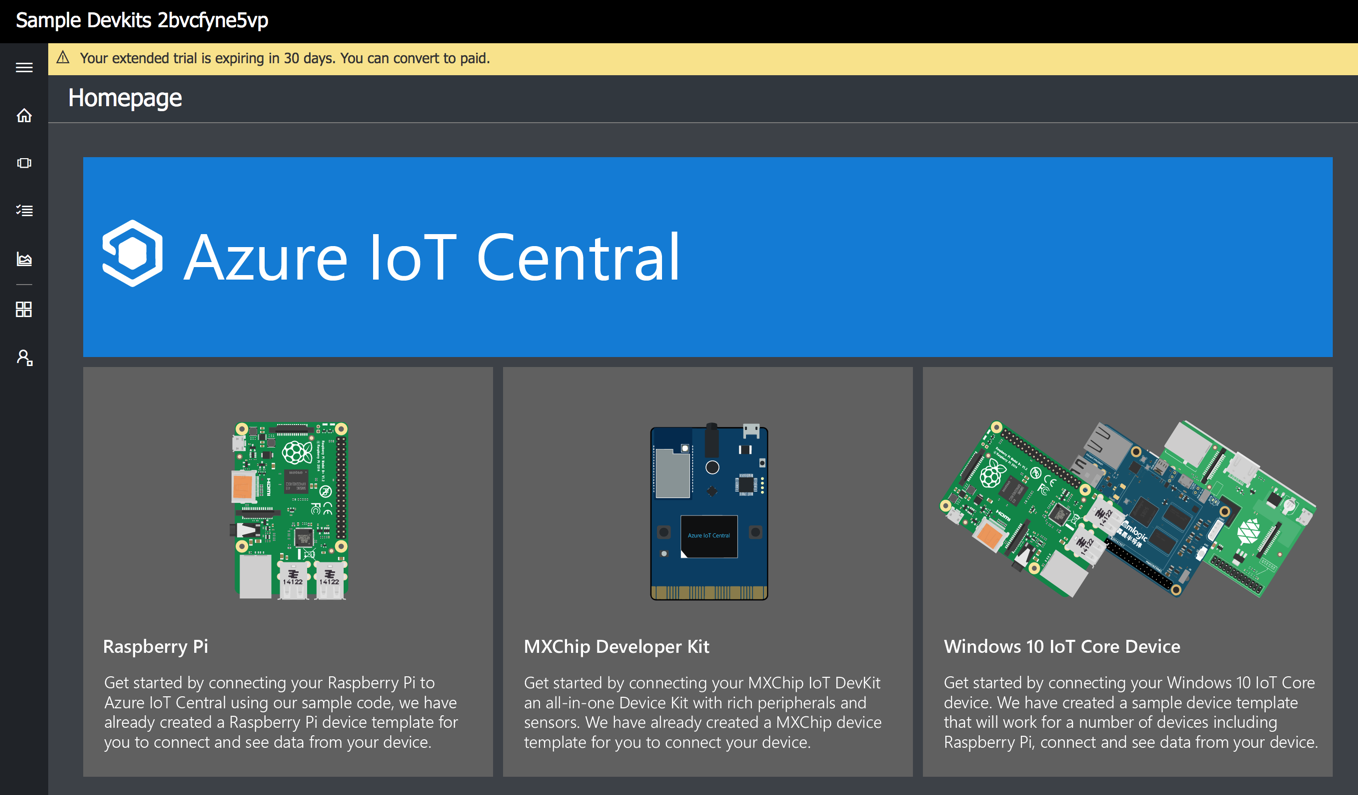
Your app will spin up and you’ll see the following:
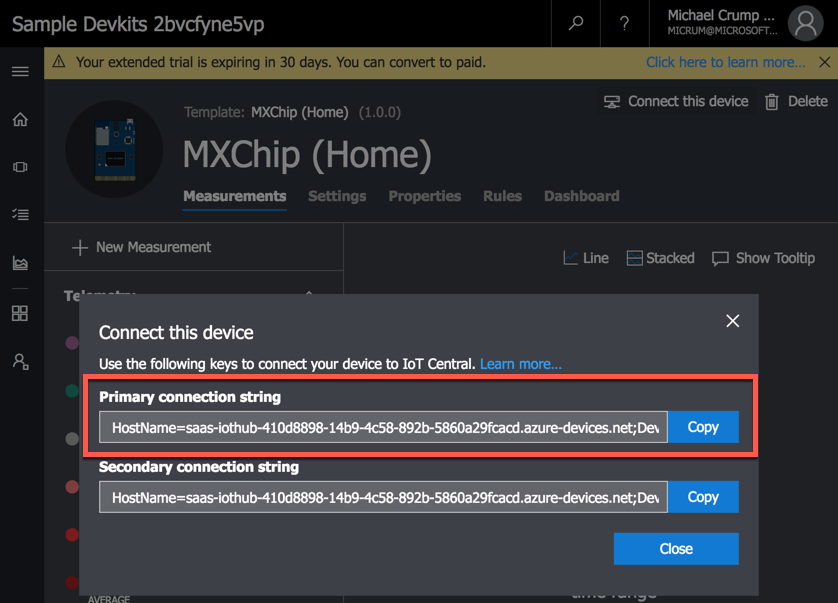
Go to Device Explorer -> MX Chip -> + New -> Real -> Connect this device -> and copy the Connection String.
Setting up the MX Chip
Before proceeding, I’d like to load the IoT Central firmware to the MX Chip.
Download the latest Azure IoT Central firmware for the MXChip. Using the USB device, connect the DevKit device to your development machine. Look for a drive that has been added called AZ3166 and copy the iotCentral.bin file onto the drive window. The device will reboot once the file is copied. You should see a Access Point on the screen on the MX Chip that you can connect to. Go ahead and connect to it and go to the following url. You’ll see the following:
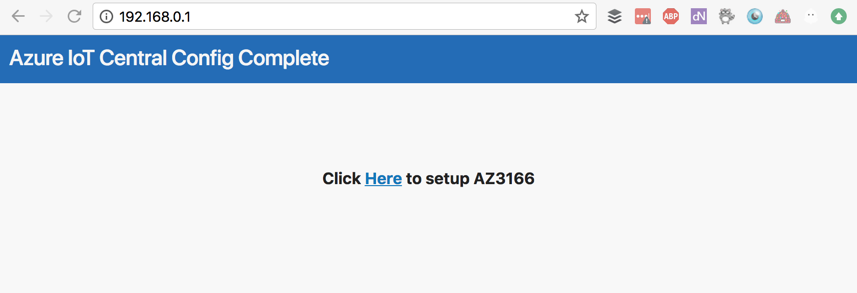
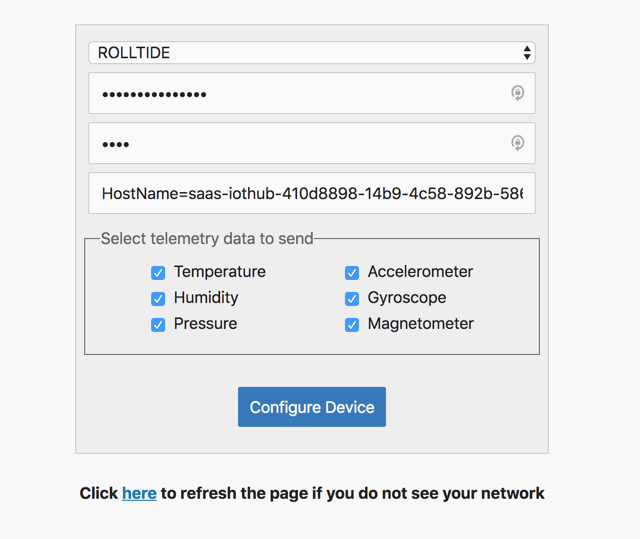
Click on the here button and add the name of your WiFi network, your password, the Pin code on your device, and the connection string which we copied earlier and select all the available telemetry measurements. Now click Configure Device.
If everything is correct, you’ll be able to see data being sent. Here is an example of mine being on for a couple of days:
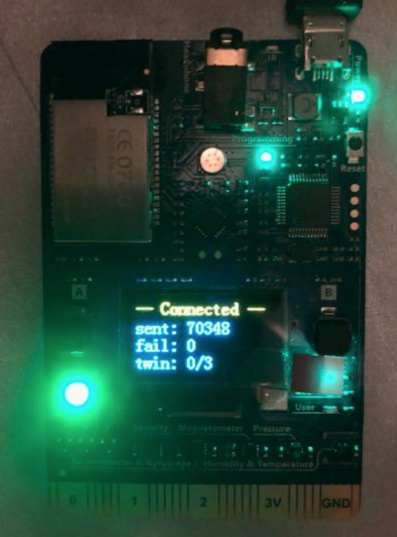
Yep, 70K sent! :)
Back to Azure IoT Central
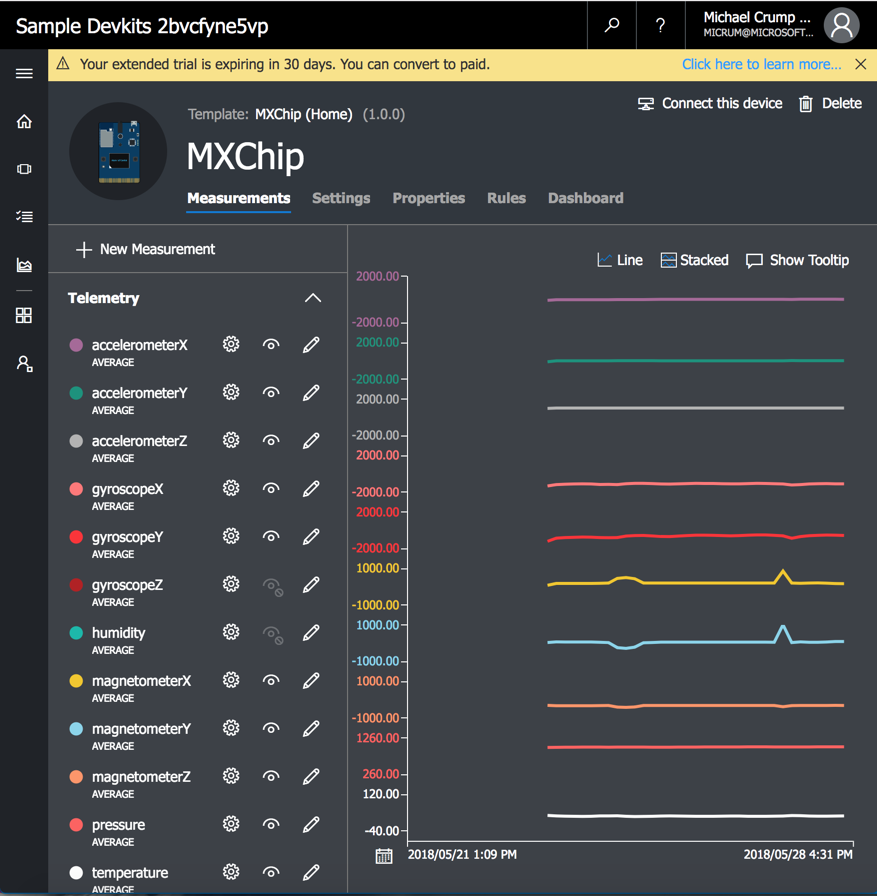
Back in the Azure IoT Central Application Manager page, if we go to Device and look for our MX Chip (this one should Not say Simulated), then you’ll begin to see data for the telemetry measurements that we selected when setting it up.
You can also do things such as setup Rules to act on a certain condition and notify you via email. Here is a rule that I setup in case the temp gets to high in the room that I’m monitoring.

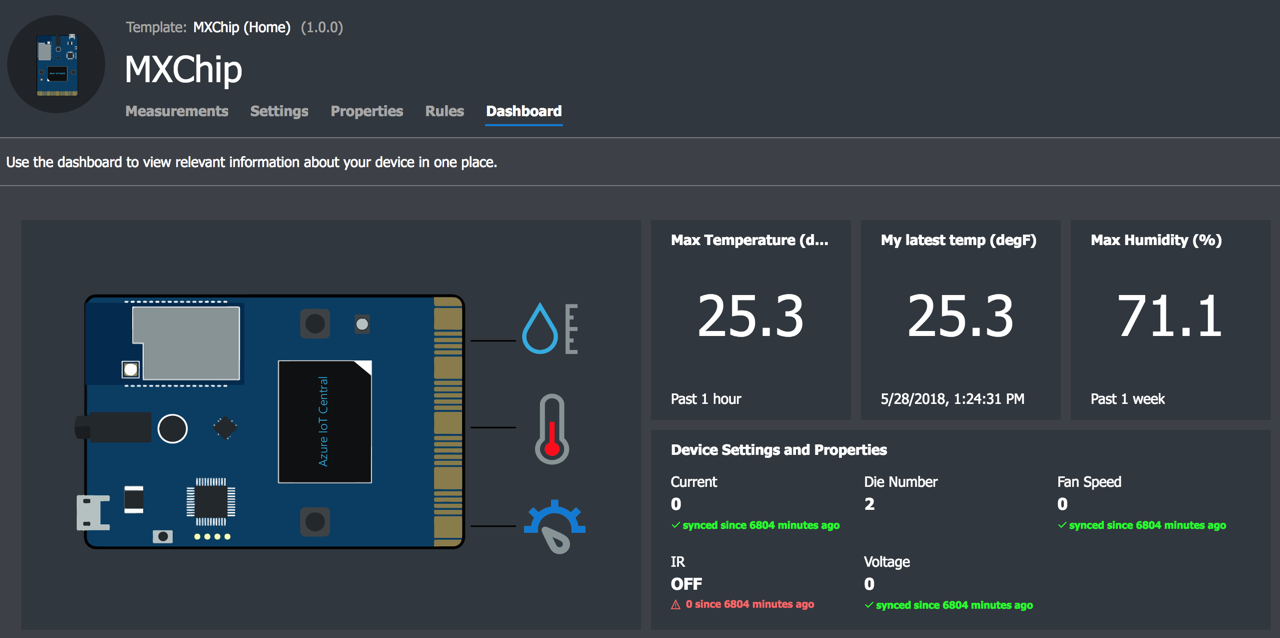
And you can even create a custom dashboard, like this one to show relevant information about the device and you can fully customize this page to show any data that you want.
I’ve barely scratched the surface with Azure IoT Central. Go and check it out yourself!
Want more Azure Tips and Tricks?
If you’d like to learn more Azure Tips and Tricks, then follow me on twitter or stay tuned to this blog! I’d also love to hear your tips and tricks for working in Azure, just leave a comment below.
Leave a Comment