
Azure Tips and Tricks Part 123 - Configuring and Setting up the IoT Button
Check out Azure.Source : A very nice mix of Azure news, announcements, videos, podcast and more. Read weekly
Intro
Most folks aren’t aware of how powerful the Azure platform really is. As I’ve been presenting topics on Azure, I’ve had many people say, “How did you do that?” So I’ll be documenting my tips and tricks for Azure in these posts.
The Complete List of Azure Tips and Tricks
The Series So Far
At Build 2018, we first saw the IoT Button. I started exploring the device with the very first unboxing and decided to create a mini-series to walk you how to use the device from start to finish. The series (so far) is located below
- This post - Creating an IoT for the IoT Button
- Configuring and Setting up the IoT Button
- Creating the Azure Logic App for our IoT Button
- Using Azure Function to call our Logic App with the IoT Button
In the blog post, I spent time walking you through creating an IoT Hub that we’ll be using in the rest of this series. Now we’re going to take a look at configuring the actual IoT Button to make use of our IoT Hub.
Configuring and Setting up the IoT Button
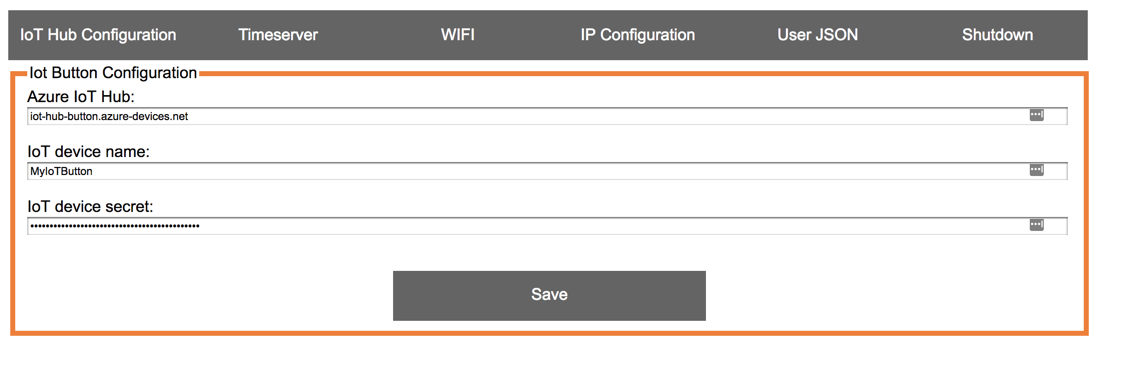
You first need to take the button and hold it down until you see a yellow LED and then release. This will give you access to the AP which you will connect to on your Windows or Mac. Once connected, go to the device configuration page in a web browser http://192.168.4.1 and you’ll see the following:
Click on the IoT Hub Configuration page and provide the Azure IoT Hub, IoT Device name and secret (that you got out of Device Explorer) and click Save.
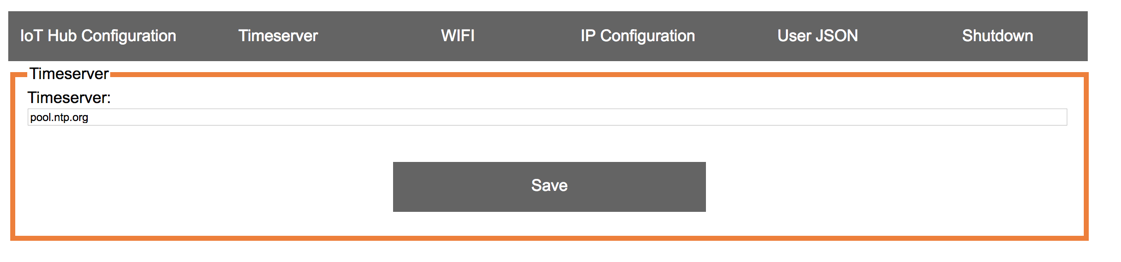
If you click on TimeServer, then you can change the default time server. It should be fine as is.
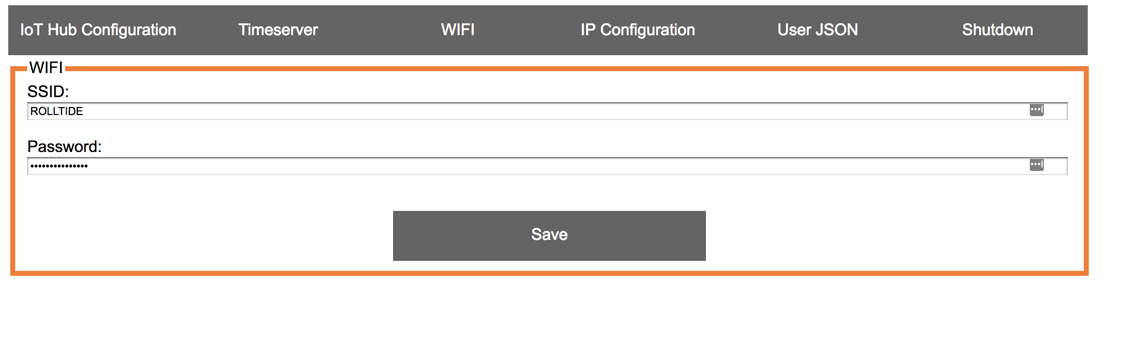
Now you’ll need to configure the Wifi that the device connects to when you click the button. You need to use 2.4 wireless and WPA-PSK2. At least that is what works at my home. Make sure you save the information after entering it.
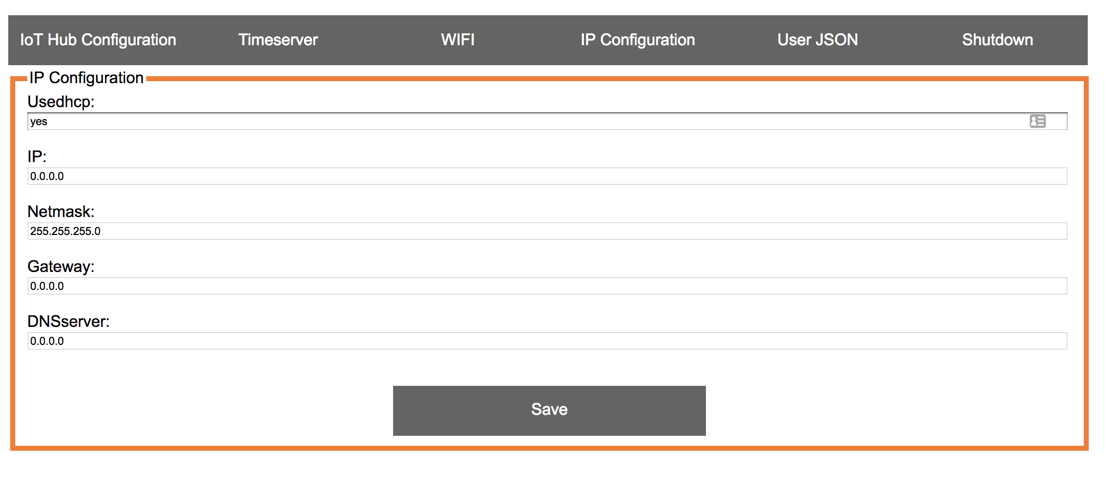
Next up, is IP Configuration, I am using DHCP so left this as yes and 0.0.0.0 for everything except Netmask. This needs to be 255.255.255.0.
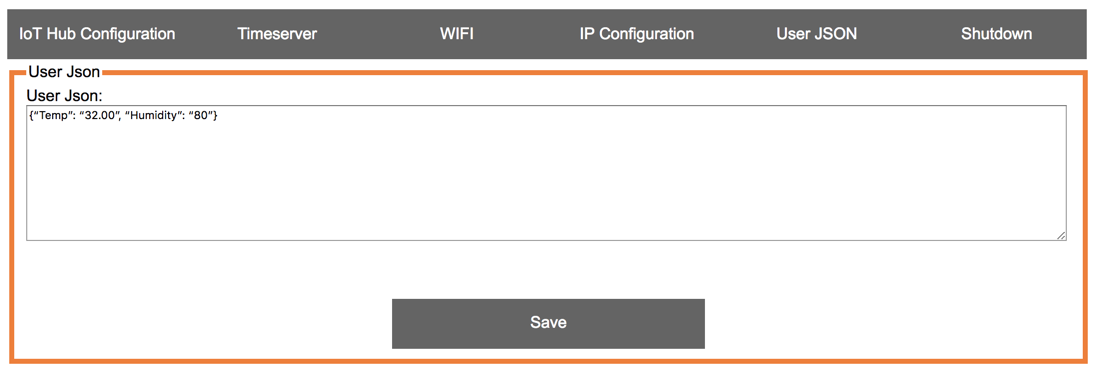
On the User JSON screen, this is a great paste to paste some sample JSON that you wish to test with.
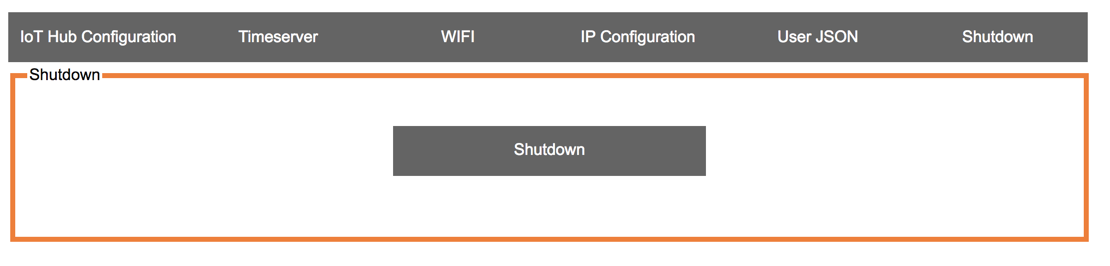
Finally, on the Shutdown page, it allows you to save all settings and exit.
Once this is complete, switch back over to Device Explorer and click on the Data tab and ensure the right EventHub and DeviceID is selected and press Monitor. Press you button one time and you should see the sample data coming through. Nice!
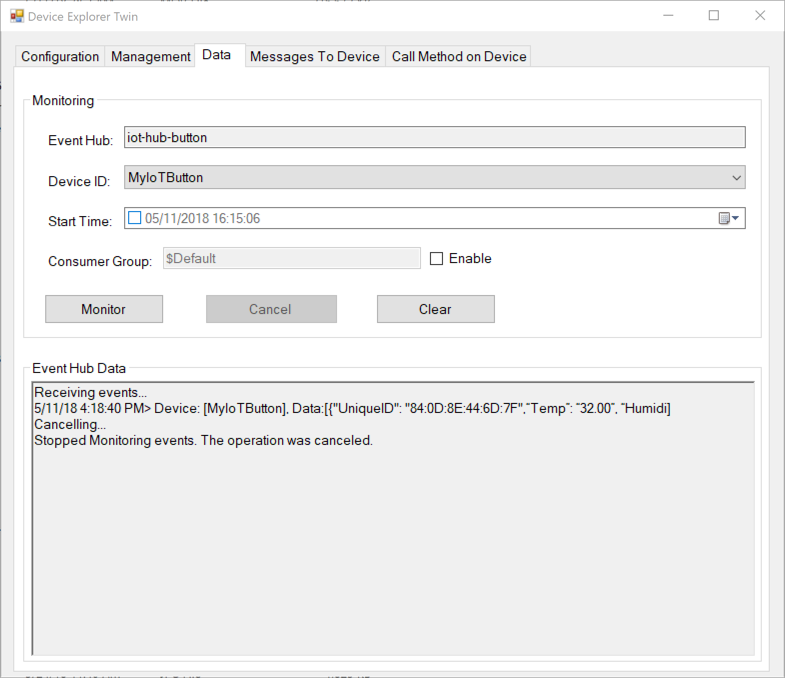
We’ve now seen that the IoT Button can connect to Wifi, identify our IoT Hub and send Event Hub data successfully. Now you should be thinking of the possibilities of using Logic Apps and Azure Functions! Now we are cooking!
Want more Azure Tips and Tricks?
If you’d like to learn more Azure Tips and Tricks, then follow me on twitter or stay tuned to this blog! I’d also love to hear your tips and tricks for working in Azure, just leave a comment below.
Leave a Comment