
Azure Tips and Tricks Part 120 - Run Azure PowerShell Cmdlets in Visual Studio 2017
Intro
Most folks aren’t aware of how powerful the Azure platform really is. As I’ve been presenting topics on Azure, I’ve had many people say, “How did you do that?” So I’ll be documenting my tips and tricks for Azure in these posts.
The Complete List of Azure Tips and Tricks
Run Azure PowerShell Cmdlets in Visual Studio 2017
Because some folks like to work with PowerShell and Azure AND want to stay inside of Visual Studio 2017, I hear the following questions from time to time.
- I use the Windows PowerShell ISE and would like to run cmdlets using Visual Studio 2017. How can I do this?
- Is there any Nuget Packages available for referencing the library for Azure Powershell commands?
Grab the extension or install via the VS 2017 installer
Since folks typically have VS already installed, the easiest way is to grab the extension. If VS is open, then go to Tools and Extensions and search the online marketplace for PowerShell.
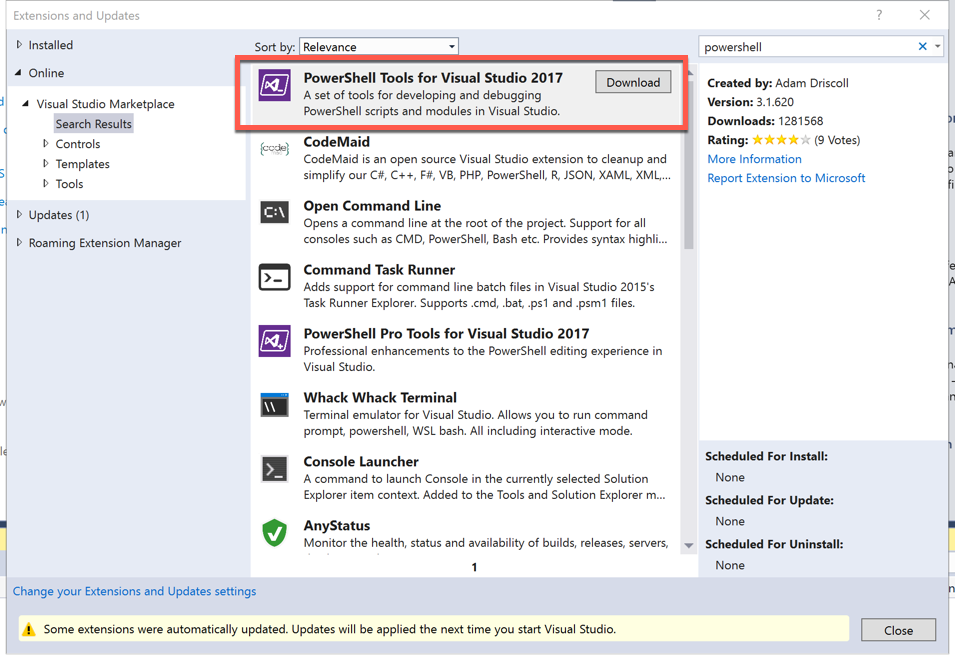
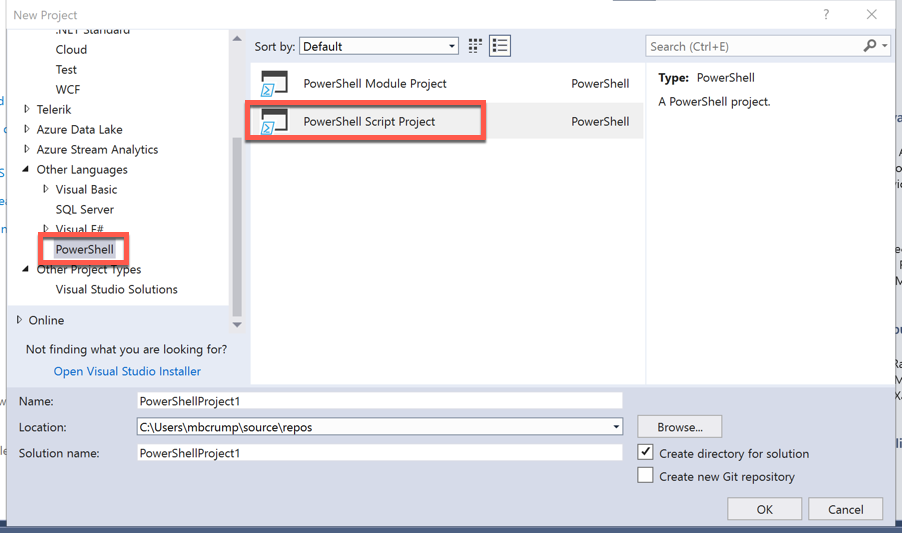
Download and install the extension and you’ll have access to PowerShell in Other Languages and can create a PowerShell project and manage your existing .ps1 files.
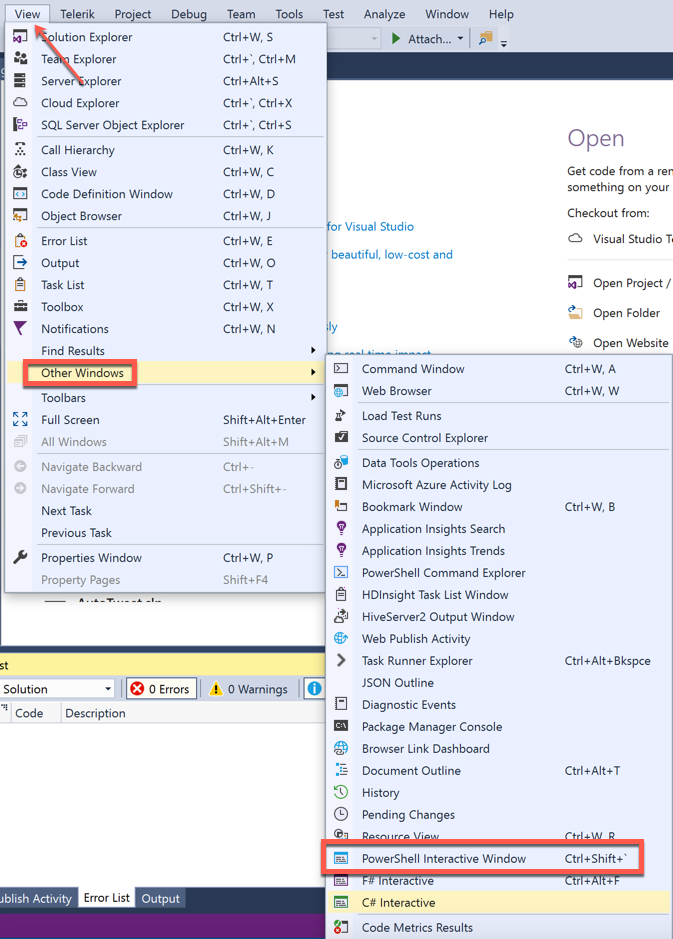
If you prefer an interactive windows, then click View -> Other Windows -> PowerShell Interactive Window -> and run your cmdlet:
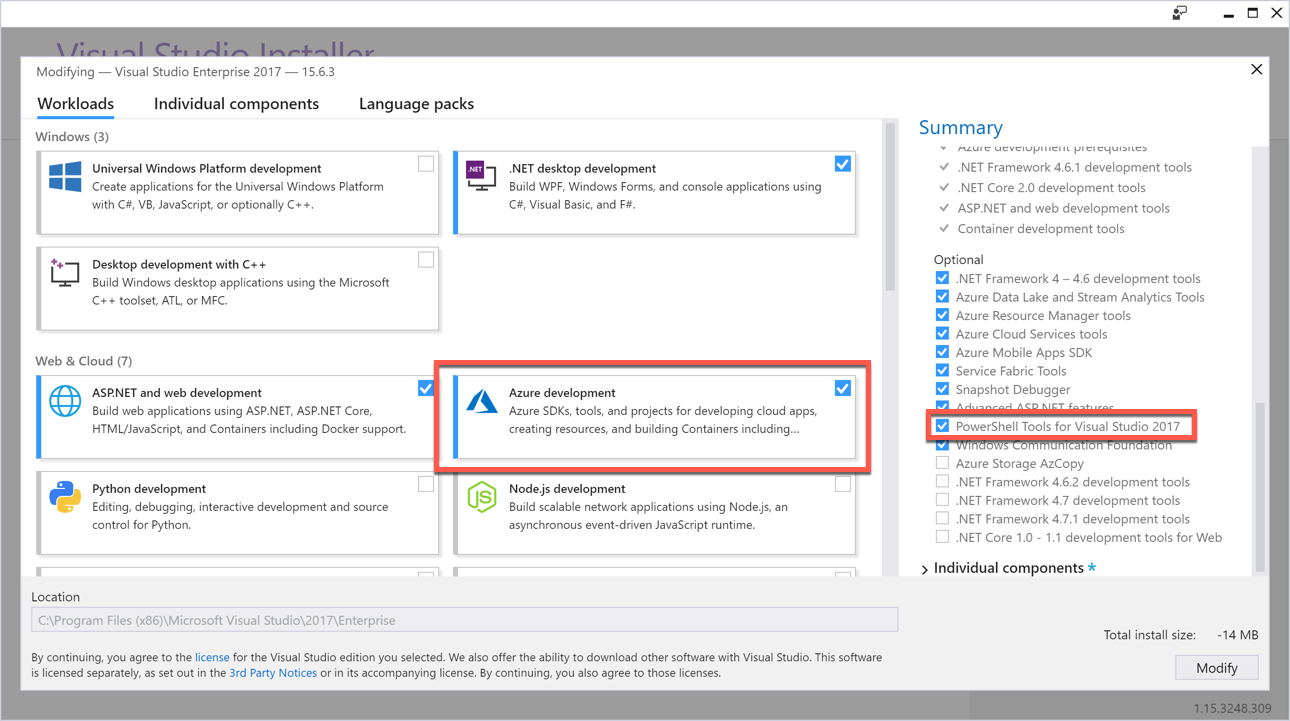
If you don’t have Visual Studio installed, then you can install the PowerShell tools through the Visual Studio installer with the Azure workload.
- Click the Individual components tab after selecting Azure development.
- Look under Optional.
- Check PowerShell tools.
- Click Install
and you should be off and running! I hope this helps.
Want more Azure Tips and Tricks?
If you’d like to learn more Azure Tips and Tricks, then follow me on twitter or stay tuned to this blog! I’d also love to hear your tips and tricks for working in Azure, just leave a comment below.
Leave a Comment